When I saw the Softly Sophisticated
bundle in the Sale-A-Bration catalog I knew it was a free product I was going
to work to earn. It is just beautiful,
the stamp set is really nice and has some great sentiments but that 3D
Embossing Folder is beyond amazing. I
could not wait to play with it so when my order arrived it was the first thing
I wanted to play with.
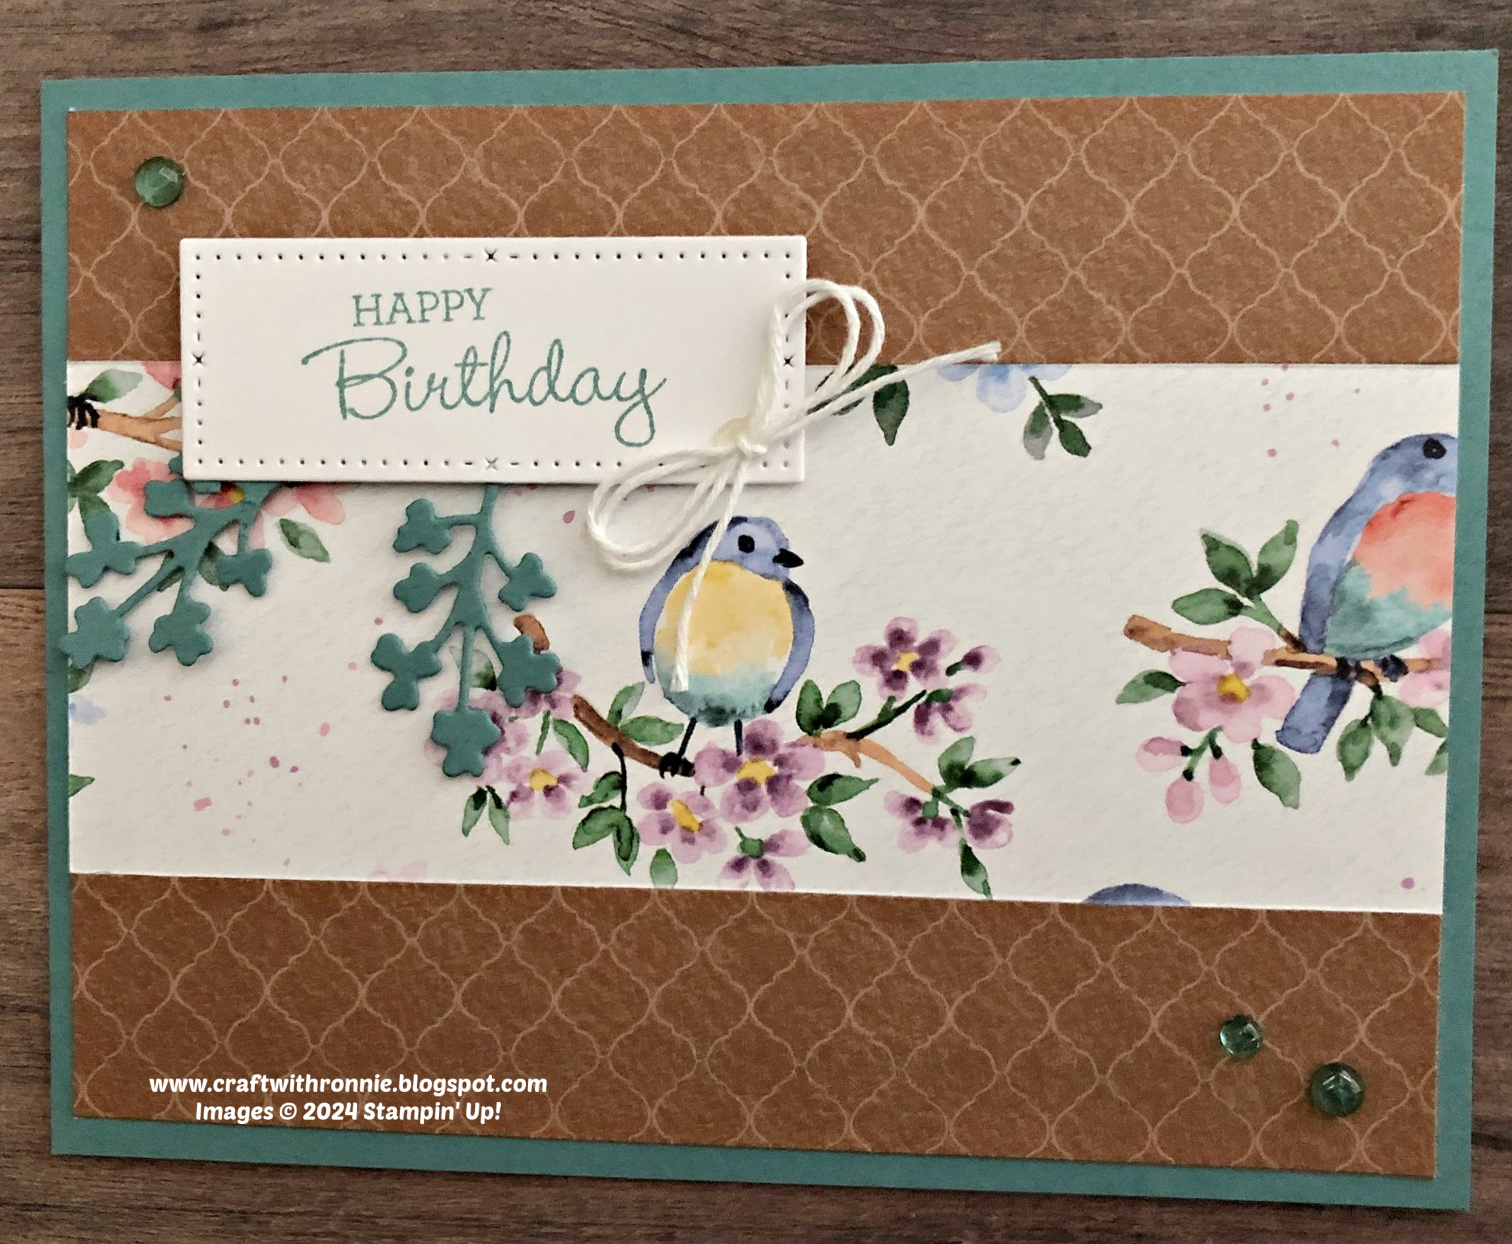
Here is what I came up
with…
This bundle can only be earned as a free
product during Sale-A-Bration it is not an item that can be purchased. Just a quick reminder that Sale-A-Bration is
only once a year and will end on February 29th. I save all year long and use this time of
year to stock up on basics like cardstock (especially basic white), adhesives
and other consumable products so that I can qualify for as many of these great
free products as I can. Now onto the
card.
The card base is Bubble Bath cardstock cut
to 5 ½ x 8 ½” and scored at 4 ¼”. I then
cut a piece of Vellum cardstock to 4 x 5 ¼” and embossed it with that amazing
embossing folder. Once that was done, I
added a piece of Basic White cardstock that was also 4 x 5 ¼” under it to
really make it pop. (Here is a hint on adhering
vellum and not showing the adhesive, I take some of the Multipurpose Liquid
Glue and put it on my Silicone Craft Mat, then I take a sponge dauber and sponge
the glue onto the cardstock thinly and then lay the vellum down on it and it is
invisible). I adhered this layer
directly to my card base. Next, I die
cut a piece of Basic White cardstock using the largest of the dies shown on the
card from the Thoughtful Expressions Dies.
I stamped my images from the bundle using Bubble Bath Ink for the
flowers and Parakeet Party Ink for the foliage.
I also die cut another label the same size out of Bubble Bath cardstock
and cut it in half, I placed each piece so that it stuck out from behind the
white about 1/4” and adhered it to the white.
I wrapped a piece of the Bubble Bath colored Sheer Ribbon from the Sheer
Ribbon Combo Pack around this layer and then attached the whole thing to the
center of the card. I stamped my
sentiment “hello there” from the bundle onto a Basic White cardstock label from
the Stylish Shapes Dies (remember you can use any die or punch you have on hand
to make these sentiment labels or just stamp them onto a rectangle of paper) using
Bubble Bath Ink. I cut an additional
flag label from Bubble Bath cardstock and cut it in half and attached it just
like the previous one. For my final
additions I added a bow made from that same ribbon I used to wrap the die cut
and five of the Pastel Adhesive Backed Sequins.
I hope you enjoy this card I certainly
enjoyed making it. As always you can
find the supplies to create this card and more on my website at https://www.stampinup.com?demoid=2206796 or by clicking the
shopping button at the top of this blog or the link to the supplies listed
below. Be sure to follow me at:
Facebook
at: https://www.facebook.com/craftwithronnie.stampinup.net
YouTube
at: https://www.youtube.com/@ronniejohnsonstampinup
Instagram: https://www.instagram.com/craft_with_ronnie/
Happy Crafting!!!
Product List


 Designer Series Paper")


")
")
")
")


 Bordered Ribbon")


")


 Sheer Ribbon Combo Pack")


")


