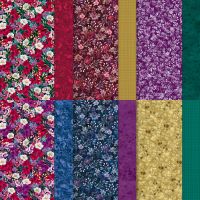
Today’s card features the beautiful Regal Winter Designer Series Paper from the September to December 2024 Mini Catalog. While this paper is retiring it is currently available as a last chance item and is on sale for just $11.25 a pack. I also used the Blackberry Bliss & Gold Ribbon which is also a last chance item and is on sale as well. I originally saw this card on a video that Susan Campfield did but I had trouble with some of the measurements so I just adjusted them to work for me.
Here is what I came up
with…
The card base is Basic White cardstock cut
to 4 ¼ x 11” and scored at 3, 6, 7 ½, 9 and 10”. I folded the base into an upside-down W shape
with the largest fold in the back of the card.
Next, I cut the mats for the steps.
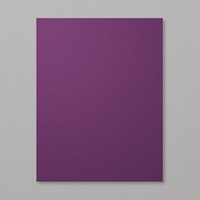
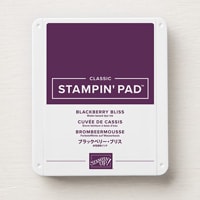
They are cut from Blackberry Bliss cardstock to 2 ¾” x 4” for the back,
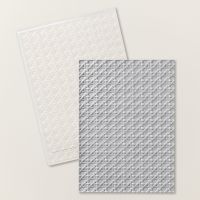
1 ¼ x 4” for the middle and 7/8 x 4” for the front step. Once they were cut, I embossed them with the
Cane Weave 3D Embossing Folder and attached them to the card base. Next, I cut my Diamonds out of Basic White
cardstock, the back is 3 x 3”, the middle is also 3 x 3” and the front diamond
is 2 ½ x 2 ½”. These are attached to the
center of each step with the point straight up.
Now to decorate the diamonds with the Designer
Series Paper. For the back and center diamond,
the DSP is cut to 2 ¾ x 2 ¾”, the front is cut to 2 ¼ x 2 ¼”. I used three different designs from the paper
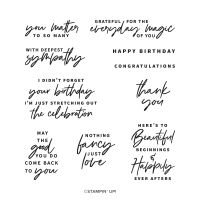
pack to do this. Next, I stamped “HAPPY
BIRTHDAY” from the Something Fancy stamp set onto a scrap of Basic White
cardstock using Blackberry Bliss ink and die cut it with one of the dies in the
Stylish Shapes Dies (this are one of my absolute go to die sets). I added that to the center of the front
diamond using Dimensionals. Next, I made
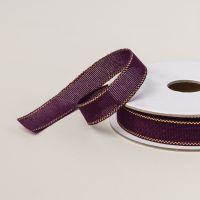
a bow with a square knot out of the Blackberry Bliss & Gold Ribbon and
added it to the front of the card with a Mini Glue Dot.
This card was much easier to make than it
looked like it would be. I hope you
enjoy this card I certainly enjoyed making it. As always you can find the supplies to create
this card and more on my website at https://www.stampinup.com?demoid=2206796 or by clicking the
shopping button at the top of this blog or the link to the supplies listed
below. Be sure to follow me at:
Facebook
at: https://www.facebook.com/craftwithronnie.stampinup.net
YouTube
at: https://www.youtube.com/@ronniejohnsonstampinup
Instagram: https://www.instagram.com/craft_with_ronnie/
Happy Crafting!!!
Product List




.jpg)


No comments:
Post a Comment