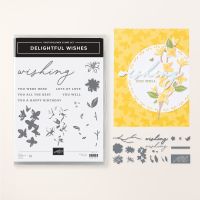
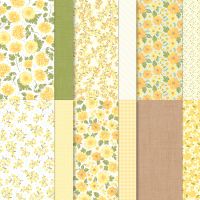
Today’s card features the Delightful Wishes Bundle and Floral Delights Designer Series Paper from the January – April Mini Catalog. I also used the Happy Hibiscus Dies (love how well those leaves from this set coordinate with the DSP). I wanted to showcase the Starstruck Embossing Folder which is a free gift with qualifying purchase during Sale-A-Bration, don’t forget Sale-A-Bration is ending on February 28th so get those qualifying orders in and earn free products. I am pretty happy with the results, here is what I came up with…
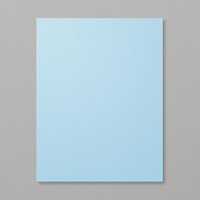
The card base is Balmy Blue cardstock cut
to 5 ½ x 8 ½” and scored at 4 ¼”. I
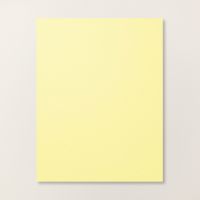
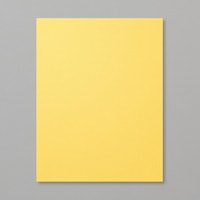
added a layer of Daffodil Delight cardstock that measured 4 1/8 x 5 3/8” (but
before adhering it to the card base I die cut three flower centers out of the
center of it, one large and two small from the Delightful Wishes dies, this is
a great way to save paper as no one will see the inside of this layer just a
1/8” border of it). On top of that I
added a piece of the Floral Delights Designer Series Paper that measured 4 x 5 ¼”. I cut a piece of Balmy Blue cardstock to 2 x
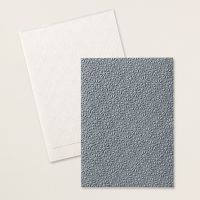
4 ¾” and embossed it with the Starstruck Embossing Folder (that was a free
product I earned with a $60 order) and adhered it about ¼” from the right side and
1” from the bottom of the card base.
Now to decorate. I die cut one large and one small flower from
the bundle out of Lemon Lolly cardstock and one small flower out of Basic White
cardstock. I added the centers I had
previously cut out from my Daffodil Delight layer. I then die cut two of the leaves from the
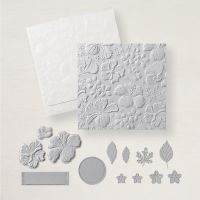
Happy Hibiscus Embossing Folder and Dies, this set includes both the Embossing Folder and coordinating dies (any leaves including the one in the bundle would be fine I
just liked how these looked with the DSP).
I cut a piece of Basic White cardstock to ½ x 3 ¾” and stamped the
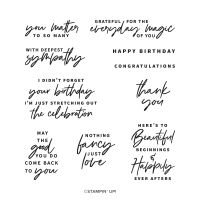
sentiment “HAPPY BIRTHDAY” from the Something Fancy Stamps (we all have those
sentiments we love so use what you have and adjust your paper to it) onto the
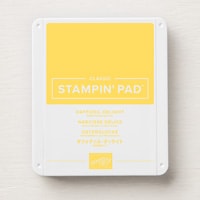
right end of it using Daffodil Delight Ink.
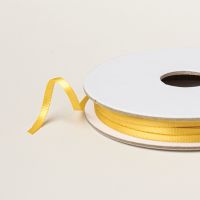
I wanted a bow of the Daffodil Delight 1/8” Satin Ribbon that is
included in this collection so I put some adhesive on the back of my sentiment
and attached the ribbon to the back. I
went ahead and attached that using Mini Dimensionals.
To finish off the front of my card I added
my largest flower using Mini Dimensionals, then one small one adhered directly
to the card and the second popped up with a Dimensional. I added the two leaves, one with Mini
Dimensionals and the other adhered directly to the card. To finish off the card I added three of the
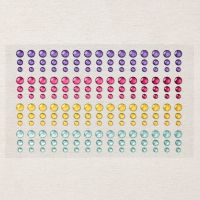
Glossy Dots Assortment (I picked the Daffodil Delight Dots).
For the inside of the card, I simply cut a
piece of Basic White cardstock to 4 x 5 ¼” and using one of the flower stamps
from the bundle I stamped the detailed stamp with Daffodil Delight Ink down in
the bottom corner. Then I took the full
stamp and inked it with Daffodil Delight Ink and stamped that off once before
stamping over the detailed image.
I hope you enjoy this card I certainly
enjoyed making it. As always you can
find the supplies to create this card and more on my website at https://www.stampinup.com?demoid=2206796 or by clicking the
shopping button at the top of this blog or the link to the supplies listed
below. Be sure to follow me at:
Facebook
at: https://www.facebook.com/craftwithronnie.stampinup.net
YouTube
at: https://www.youtube.com/@ronniejohnsonstampinup
Instagram: https://www.instagram.com/craft_with_ronnie/
Happy Crafting!!!
Product List




.jpg)


No comments:
Post a Comment