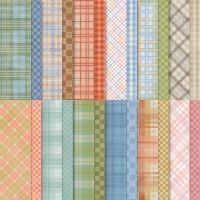
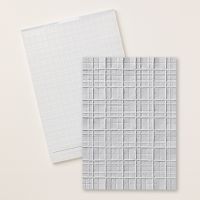
Today’s card features the Timeless Plaid 6 x 6” Designer Series Paper. Many say that they feel most challenged when creating masculine themed cards. Well the beautiful plaids in this paper pack are great for masculine cards and they really work well with the Forever Plaid 3D Embossing Folder. Here is what I came up with using those products…
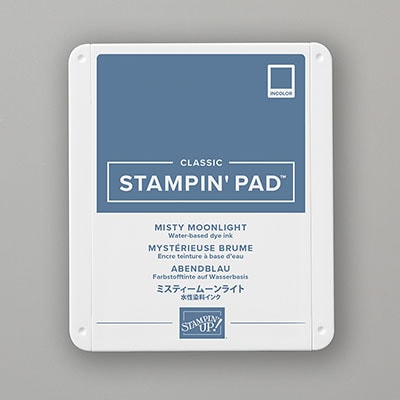
The card base is Misty Moonlight cardstock
cut to 5 ½ x 8 ½” and scored at 4 ¼”. I added
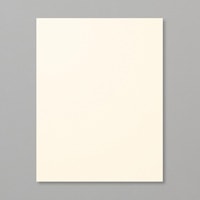
a layer of Basic Beige cardstock that I cut to 4 x 5 ¼ and embossed with the
Forever plaid 3D Embossing Folder. Next,
I cut a piece of the 6 x 6” Timeless Plaid Designer Series Paper into four
pieces that were 3 x 3” (set aside three of them for three additional cards
because this design makes great use of the paper). I grabbed a scrap of the paper I had left from
another card (this is actually the back side of the plaid) and cut it to ½ x 5 ¼”
and centered it across my embossed layer.
Then I cut that 3 x 3” piece into 3 pieces that were 1 x 3”. Then I cut three pieces of Mossy Meadow
cardstock into 1 ¼ x 3 ¼” pieces and mounted my Designer Series Paper on
them. I added these to my card using
Dimensionals, I found the best way to get the spacing right was to start with
the center strip and then add the other two on the sides for an even
spacing.
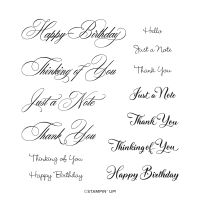
To finish the front of the card I stamped the
sentiment “Happy Birthday” from the Go to Greetings Stamp set (this set is
retired but we all have those favorite sets with basic sentiments that we
gravitate to when making cards, make it your own and use what you have) and
stamped it centered on a piece of Basic Beige cardstock that measured 1 ¾ x 4 ½”
with Misty Moonlight Ink. Once my
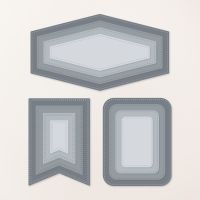
stamping was complete, I used one of the dies from the Nested Essential Dies to
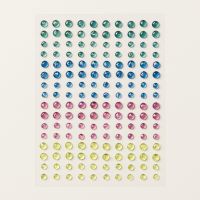
cut it out and I added it to the center of my card. I finished the front off with two Tinsel
Gems. For the inside of the card, I cut a piece of Very Vanilla cardstock to 4 x 5 1/4" and simply added a strip of the same plaid Designer Series Paper that I used on the
front at the bottom, it measures ½ x 5 ¼”.
I hope you enjoy this card I certainly
enjoyed making it. As always you can
find the supplies to create this card and more on my website at https://www.stampinup.com?demoid=2206796 or by clicking the
shopping button at the top of this blog or the link to the supplies listed
below. Be sure to follow me at:
Facebook
at: https://www.facebook.com/craftwithronnie.stampinup.net
YouTube
at: https://www.youtube.com/@ronniejohnsonstampinup
Instagram: https://www.instagram.com/craft_with_ronnie/
Happy Crafting!!!
Product List



No comments:
Post a Comment