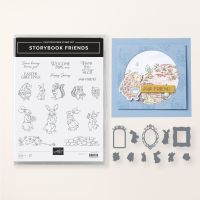
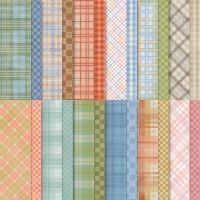
Today’s card features the adorable Storybook Friends Bundle and Timeless Plaid 6 x 6” Designer Series Paper. I fell in love with this bundle as soon as I set eyes on it. It takes me back to my childhood and Beatrix Potters amazing stories. All the animals in the set are beyond adorable. I knew I wanted to create an Easter card using this set and I thought that one of the frames from the bundle was just what I needed.
Here is what I came up with…
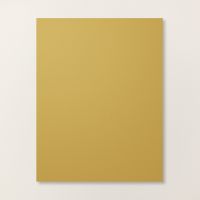
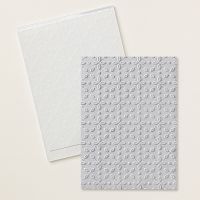
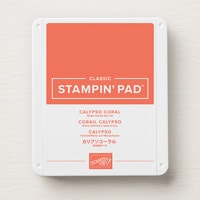
The card base is Calypso Coral cardstock cut to 5 ½ x 8 ½” and scored at 4 ¼”. I created a layer for the card by cutting a piece of Wild Wheat cardstock to 4 x 5 ¼” and embossing it with the Eyelets 3D Embossing Folder. Then I added a strip of the beautiful Timeless Plaid DSP (I liked the colors of this piece) that was 2 x 5 ¼” about a ½” from the right side of the card. Next I die cut my frame from Basic Beige cardstock (note: keep the center it is just the right size to cut the label for the sentiment) and added it to my card.
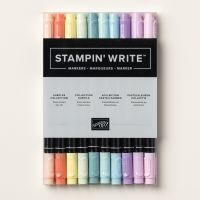
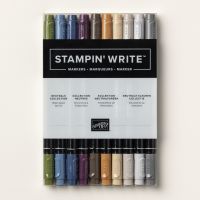
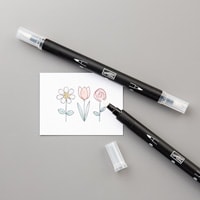
Next, I stamped my cute little bunny from the Storybook Friends Bundle onto a scrap of Basic White cardstock using Tuxedo Black Memento Ink. I used Crumb Cake, Pecan Pie, Old Olive and Bubble Bath Stampin’ Write Markers to color my bunny. The way I did this was to scribble some of the color onto an acrylic block and then I used a Blender Pen to pick up that color and color in my bunny. I like this soft watercolor look and it is easy enough for anyone to try. Once my bunny was done, I used the coordinating die from the bundle to cut hm out. I added him to the inside of my frame a little to the right to leave room for my sentiment label popping him up with Dimensionals.
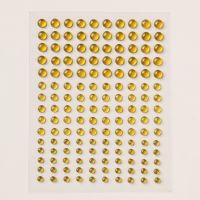
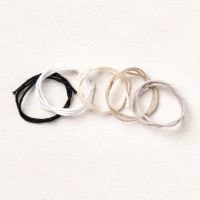
I stamped the sentiment “EASTER GREETINGS” from the bundle in Calypso Coral Ink onto the scrap left over from the inside of my frame and then I die cut it using one of the dies from the Greetings of the Seasons Dies (love these tag dies). I added that to the front of my card using Dimensionals. To finish off my card I made a bow from twine from the Baker’s Twine Essentials Pack and added it to my sentiment using a Mini Glue Dot. The final addition to the front of the card was one medium and two small Gold Textured Adhesive Backed Dots.
For the inside I cut a piece of Basic White cardstock to 4 x 5 ¼” and stamped a little bunny from the bundle on it with Tuxedo Black Memento Ink. I colored him in with those same Stampin’ Write Markers I used on the first bunny.
I hope you enjoy this card I certainly enjoyed making it. As always you can find the supplies to create this card and more on my website at https://www.stampinup.com?demoid=2206796 or by clicking the shopping button at the top of this blog or the link to the supplies listed below. Be sure to follow me at:
Facebook at: https://www.facebook.com/craftwithronnie.stampinup.net
YouTube at: https://www.youtube.com/@ronniejohnsonstampinup
Instagram: https://www.instagram.com/craft_with_ronnie/
Happy Crafting!!!







.jpg)


No comments:
Post a Comment