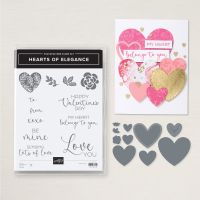
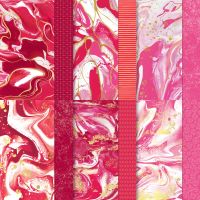
Today’s card is a fun fold that features the Hearts of Elegance Bundle and the Marbled Elegance 12 x 12” Specialty Designer Series Paper. This fold is called a vertical bandstand card and the first card like this that I saw was created by Iced Designs and I tried to recreate it but had trouble converting from centimeters to inches. I saw a Youtube video done by Susan Canfield (I always love her designs, she is a very talented lady) where she converted it to inches and used this same set of products so I knew I would be able to create one finally.
Here is what I came up
with…
The card base is Real Red cardstock cut to
4 1/8 x 5 ½”, scored at ¾” and 3 3/8” and folded into valley folds on the score
lines. Then there are two band (one for
the top and one for the bottom that are 1 ¼ x 5 ¾”, scored at ¾”, 2’, 3 ¾” and
5” and folded in mountain folds on each of those score lines. Once you have those pieces created you will
add your Designer Series Paper to the inside of the card. You will need 2 pieces that are ½ x 5 ¼” for
the two small sides and one that is 2 3/8 x 5 ¼” for the center. With that done you will need to add the Designer
Series Paper to the sections on the bands.
You will need 2 sets of Designer Series Paper (one for each band) with
pieces that are 1 x 1”, 1 ½ x 1 ½” and 1 x 1” attach these to each of the panel
areas.
You are now ready to make your bandstand
card stand up. Center your bands across
the card (you will notice that there is about 1/16” extra on each end where you
wrap it around to the back of the card, this is necessary to allow the card to
fold flat) and adhere to the back of the card being sure to keep it even with
the top of the card base. Do the same
thing with the bottom band. Next, we are
going to add two pieces of Designer Series Paper to the back of the card on the
two small flaps, this paper is 5/8 x 5 ¼”.
For the center back you will cut a piece of Basic White cardstock to 2
3/9 x 5 ¼” and stamp your sentiment before attaching to the center back of the
card.
Now to add our floating hearts and
sentiment. Cut a piece of Window Sheet
to 1 5/8 x 4” and adhere to the inside center of each the top and bottom band. I used Tear & Tape to adhere them because
it is nice and strong and works better than liquid glue with the window
sheet. To decorate I used the Hearts of
Elegance Dies and cut out the heart shaped die with the cute little leaf
pattern from Real Red cardstock and then I cut the smallest (it is stitched)
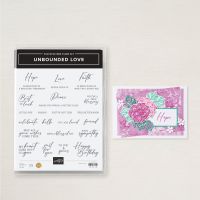
out of Gold Foil and adhered them to the center of my window sheet. Next, I stamped the sentiment “YOU ARE loved” from the Unbounded Love Stamp Set (I wanted something small) onto a scrap of Basic White cardstock using Real Red ink and die cut that using
one of the Stylish Shapes Dies (remember you can use any stamp or die you want) and added it to the center of the card.
I am very happy with how the card turned
out and want to say thanks again to Iced Designs and Susan Canfield for the inspiration. I hope you enjoy this card I certainly
enjoyed making it. As always you can
find the supplies to create this card and more on my website at https://www.stampinup.com?demoid=2206796 or by clicking the
shopping button at the top of this blog or the link to the supplies listed
below. Be sure to follow me at:
Facebook
at: https://www.facebook.com/craftwithronnie.stampinup.net
YouTube
at: https://www.youtube.com/@ronniejohnsonstampinup
Instagram: https://www.instagram.com/craft_with_ronnie/
Happy Crafting!!!
Product List





.jpg)


No comments:
Post a Comment