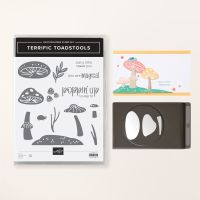
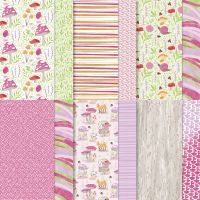
Today’s card features the Terrific Toadstools Bundle (stamp and punch) and the Toadstool Gardens 6 x6” Designer Series Paper (this paper is a freebie during Sale-A-Bration). I saw a picture of a card that was designed by Sherri Bishop and fell in love with it so I decided to give it a whirl and see what I could come up with.
Here is what I came up
with…
The card base is Smoky Slate cardstock cut
to 5 ½ x 8 ½” and scored at 4 ¼”. Next,
I added a layer of Pebbled Path cardstock that measured 3 ¾ x 5”. To that layer I added my Toadstool Gardens
Designer Series Paper (the best part is with the way this is cut you can get
two cards out of one 6 x 6” piece of DSP), I cut the piece in half making two
pieces that were 3 x 6”. I took one of those
pieces and cut it at 2”, 1 ½” and 1” (that way the pattern flows nicely across
the front of the card) and added them spacing equally on the top and sides of each
piece to my Pebbled Path cardstock layer.
I then cut another piece of the Designer Series Paper (just picked one I
thought coordinated well with the first one I used and cut it to 1 x 4 ¾” and
added it to the bottom of the layer again making sure to keep the spacing even
on the sides and bottom.
Now it was time to add some
embellishments. I stamped a piece of
Basic White cardstock that measured 1 x 4 ¾” with the sentiment “poppin’ up to
say hi” toward the left side in Melon Mambo Ink. I added that to a piece of Melon Mambo
cardstock that measured 1 ¼ x 5” and then added that whole piece to the front
of my card. I then stamped two of the mushrooms,
one in Cherry Cobbler Ink and one in Melon Mambo Ink and two stems in Gray
Granite Ink. The two mushrooms and the
smaller stem can be punched out using the coordinating punch and the larger
stem is easy to fussy cut. I added those
to the front of my card Popping the larger of the two up with some Mini
Dimensionals (I added one mini dimensional under the top of the smaller
mushroom as well). For a final addition
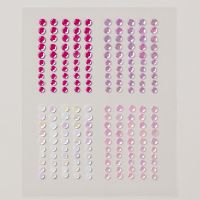
I added three of the Purple Adhesive-Backed Sequins (another Sale-A-Bration
freebie) to finish off my card. For the
inside I simply cut a piece of Basic White cardstock to 4 x 5 ¼” and stamped it
with some of the smaller mushrooms from the stamp set (I used those same stamps
to decorate the envelope).
I hope you enjoy this card I certainly
enjoyed making it. As always you can
find the supplies to create this card and more on my website at https://www.stampinup.com?demoid=2206796 or by clicking the
shopping button at the top of this blog or the link to the supplies listed
below. Be sure to follow me at:
Facebook
at: https://www.facebook.com/craftwithronnie.stampinup.net
YouTube
at: https://www.youtube.com/@ronniejohnsonstampinup
Instagram: https://www.instagram.com/craft_with_ronnie/
Happy Crafting!!!
Product List



.jpg)


No comments:
Post a Comment