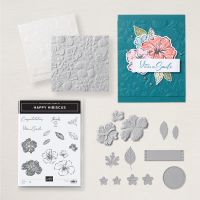
I really like the new Happy Hibiscus Bundle, which is an online exclusive. This bundle includes the stamp and dies but it also includes a 3D Embossing Folder that coordinates with the dies so you can emboss and cut the beautiful flowers. Today’s card was inspired by Susan Campfield, she is awesome and I often find inspiration from her. I did make several adjustments to the card such as product and color.
Here is what I came up
with…
The card base is Basic White cardstock cut
to 5 ½ x 8 ½” and scored at 4 ¼”. I then
cut a piece of Lost Lagoon cardstock to 1 ¾ x 5 ½” and embossed it with the 3D
embossing folder from the bundle and added it to the left side of the card
about 1/8” from the edge. Next, I cut a
piece of Soft Shimmer Specialty Designer Series Paper in Bubble Bath to ½ x 5 ½”
and adhered that over the Lost Lagoon leaving a 3/8” reveal of the Lost
Lagoon. Then I cut a piece of Basic
White cardstock to 3 ½ x 5 ½” and embossed it with the 3D Embossing Folder as well. This was added even with the right-hand side
of the card.
Now to embellish the card. I started by brushing the center of all the
flowers with Wink of Stella (hard to see in photos but beautiful in person). Next, I used the Lost Lagoon soft shimmer
paper and die cut two of the leaves using the dies from the bundle. Once that was done, I cut two more of the
leaves out of Pretty Peacock cardstock. I
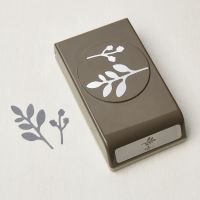
used the Bough Punch (this is a great thing to have on hand) and punched two of
the leaf sprays out of the Pretty Peacock Shimmer paper and two of the small
buds from the punch were punched out of the Bubble Bath Shimmer Paper. I used my bone folder to shape the leaves and
leaf sprays to give them dimension and then adhered all the pieces to the front
of the card.
I used Bubble Bath cardstock that measured
about 3 ¼ x 5 ¼” and embossed and die cut the Hibiscus flowers out using the
die and 3D Embossing Folder from the bundle.
Once that was done, I chose to use the largest and smallest flower on my
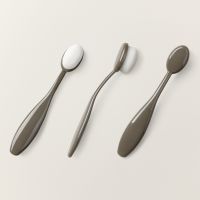
card. I used a small blending brush and
some Bubble Bath ink to ink the flowers just a bit to give them dimension. I also used Wink of Stella to add glitter to
the center of the large flower. I added
the flowers to the top of my greenery using Dimensionals. With that completed I stamped the sentiment “You
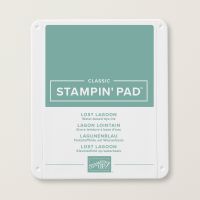
Make Me Smile” onto a scrap of Basic White cardstock using Lost Lagoon Ink and
die cut it with the label die from the bundle.
I added it with Dimensionals as well.
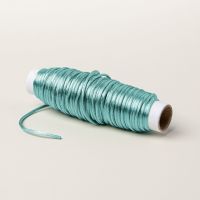
My bow is a double that was created using the Lost Lagoon Soft Cording
(it rally is soft) and I added it under the corner of my sentiment using Mini
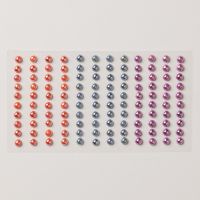
Glue Dots. To finish off the card I added
three pearls from the Adhesive-Backed Pearls Trio.
I hope you enjoy this card I certainly
enjoyed making it. As always you can
find the supplies to create this card and more on my website at https://www.stampinup.com?demoid=2206796 or by clicking the
shopping button at the top of this blog or the link to the supplies listed
below. Be sure to follow me at:
Facebook
at: https://www.facebook.com/craftwithronnie.stampinup.net
YouTube
at: https://www.youtube.com/@ronniejohnsonstampinup
Instagram: https://www.instagram.com/craft_with_ronnie/
Happy Crafting!!!
Product List




.jpg)


No comments:
Post a Comment