Featured Post

FUN WITH TEMPLATES

Today’s card features the Fern & Flora Bundle and the Moonlit Flora Designer Series Paper.  I fell in love with this suite the first tim...

Friday, September 20, 2024

LET IT SNOW

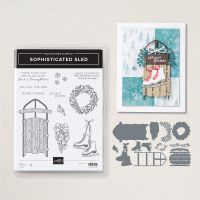
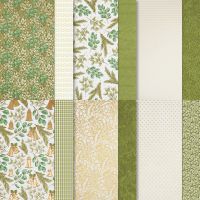
Today’s card features The Sophisticated Sled Bundle and the Season of Green & Gold Specialty Designer Series Paper.  I just loved this bundle as soon as I saw it on the online exclusives (for sale but not featured in any of the catalogs) and I knew I wanted to do lots of stuff with it.  Here is what I came up with…

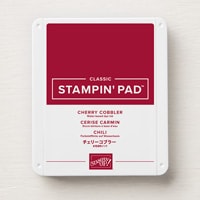
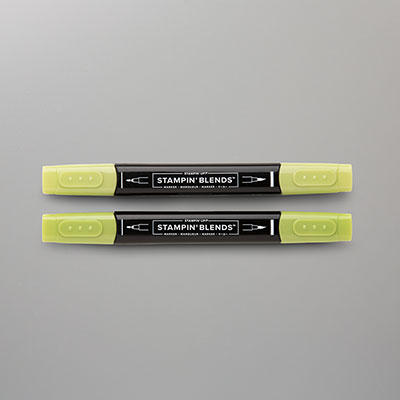
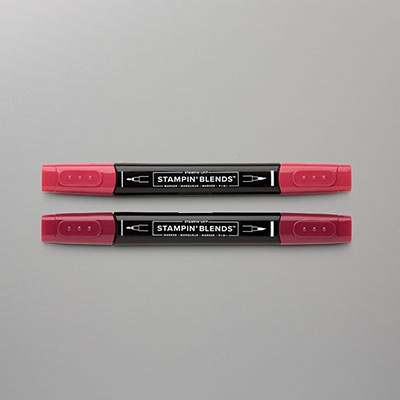
The card base is Cherry Cobbler cardstock cut to 5 ½ x 8 ½” and scored at 4 ¼”.  For the top layer I cut a piece of the Seasons of Green & Gold Specialty DSP (I chose the green and white checked one) to 4 x 5 ¼”.  I knew I wanted this card to have some cherry cobbler in it as well so I took my ruler and added lines of Cherry Cobbler using my Dark Cherry Cobbler Stampin’ Blend Marker (it made the DSP really pop). 

Next, I assembled the sled, to see which pieces I am talking about check the figure below) from the Sophisticated Sled Bundle.  I started by cutting all of my pieces, I cut image #2 out of Gold Foil, image #3 and image #8 out of Cherry Cobbler cardstock, image #9 out of Old Olive cardstock, image #6 out of Basic White cardstock and image #7 out of Silver Foil.  Then I stamped the image of the skates and bow from the coordinating stamp set onto a scrap of Basic White using Cherry Cobbler ink and cut it out using the die in image #5, once it was die cut I simply cut away the skates leaving just the bow and strings.  I assembled the sled by adding the die cut pieces from image #3 to the base (image #2) and then adding the die cut piece from image #9 to the top of the sled. 

With that all done I assembled my skates.  I added the laces to the skates (there is a little cut out that they slide into), and the silver pieces from image #7 onto the bottom of the skates to make the blades metallic.  Next, I attached the bow and string image to the skates and then popped that whole thing up on Dimensionals.  With the sled all together I added it to the front of the card using Dimensionals. 

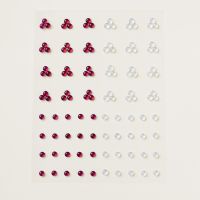
To finish off the card I stamped the sentiment “LET IT Snow” from the bundle onto a scrap of Very Vanilla cardstock and die cut it using one of the little flag dies from the Stylish Shapes Dies.  I also die cut one of the smaller flags from Cherry Cobbler cardstock and cut it in half and added each half under each side of the sentiment for some extra interest and then added it to the card with Dimensionals.  I added one of the berry clusters from the Cherry Cobbler & Pearl Adhesive-Backed Berries to the center of the Old Olive foliage piece on the sled.

For the inside of the card and the envelope I stamped the image of a swag with berries and a bow from the bundle using Tuxedo Black Memento Ink and colored it using the Dark Cherry Cobbler and Dark Granny Apple Green Stampin’ Blend Markers.  I added the sentiment “I HOPE YOUR DAYS ARE FILLED WITH fun & laughter” from the bundle to the inside stamping it in Cherry Cobbler. 

I hope you enjoy this card I certainly enjoyed making it.  As always you can find the supplies to create this card and more on my website at https://www.stampinup.com?demoid=2206796 or by clicking the shopping button at the top of this blog or the link to the supplies listed below.  Be sure to follow me at: 

Facebook at:  https://www.facebook.com/craftwithronnie.stampinup.net

YouTube at: https://www.youtube.com/@ronniejohnsonstampinup

Instagram: https://www.instagram.com/craft_with_ronnie/

Happy Crafting!!!
Product List
>

Monday, September 16, 2024

SEASONS OF GREEN AND GOLD SYMPATHY

Today’s card features the Golden Greenery Bundle and Season of Green & Gold Specialty Designer Series Paper.  I wanted to show a very simple card using these products and I think this one fits the bill very well.  Here is what I came up with…

The card base is Very Vanilla cardstock cut to 5 ½ x 8 ½” and scored at 4 ¼”.  I added a layer of Old Olive cardstock that measure 3 5/8 x 4 7/8”.  I then cut a piece of Very Vanilla cardstock to 3 ½ x 4 ¾” and scored it at ¼” and 3/8” on all four sides (this makes for some additional interest).  I then using the dies from the Golden Greenery Bundle I die cut image #8 from Figure #1 (see below) out of Old Olive cardstock.  I adhered this to my card close to the top of the Very Vanilla layer (I glued down the bottom and center but left the upper portion unattached to give the look of movement).  Then I die cut two of the foliage pieces out of the Seasons of Green & Gold Specialty Designer series paper using image #2 from Figure #1 (see below), don’t you just love it when the dies in a bundle coordinate and cut out images from the DSP.  I attached both of these pieces with Mini Dimensionals. 

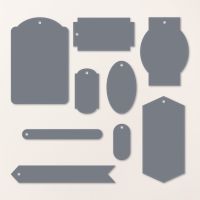
To finish off the front of the card I stamped my sentiment “WITH DEEPEST sympathy” from Something Fancy Stamp set onto a scrap of Very Vanilla cardstock using Old Olive Ink and die cut it using one of the dies from the Stylish Shapes Dies (you could just stamp it onto a piece of cardstock and not die cut it as well or use another shape that you have).  I then added three of the Gold Textured Adhesive-Backed Dots and my front was complete.

For the inside of the card, I stamped my sentiment “YOU’RE IN MY heart AND prayers” from the So Sincere Stamp Set in Old Olive Ink.  I also added one of the stamped foliage pieces from the Golden Greenry Stamp Set, I stamped image #12 Figure #2 (see below) first with Old Olive Ink, then I stamped image #11 Figure #2 (see below) over it using Soft Seafoam Ink.


Figure 1                                                                            Figure 2 

I hope you enjoy this card I certainly enjoyed making it.  As always you can find the supplies to create this card and more on my website at https://www.stampinup.com?demoid=2206796 or by clicking the shopping button at the top of this blog or the link to the supplies listed below.  Be sure to follow me at: 

Facebook at:  https://www.facebook.com/craftwithronnie.stampinup.net

YouTube at: https://www.youtube.com/@ronniejohnsonstampinup

Instagram: https://www.instagram.com/craft_with_ronnie/


Happy Crafting!!!
Product List

Friday, September 13, 2024

SEASONS OF GREEN & GOLD BIRTHDAY

Today’s card features the Seasons of Green & Gold 12 x 12” Specialty DSP and the Golden Greenery Bundle.  I love this paper and I have made tons of projects with it (check out my post from August 6th so see a bunch of them that I created for a workshop) so I wanted to create something non-Christmas with the paper to showcase its versatility, here is what I came up with…

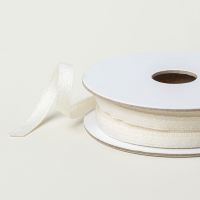
The card base is Old Olive cardstock cut to 5 ½ x 8 ½” and scored at 4 ¼”.  I added a layer of the Seasons of Green & Gold DSP that measured 4 x 5 ¼” to that.  Then I added a strip of a beautiful Very Vanilla and Gold DSP from the package that measured 1 3/8 x 4” to it about 1” from the top of the card, before attaching this piece I did wrap a piece of the ¼” Cream Woven Ribbon around it and tied it in a square knot. 

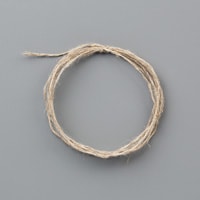
To decorate the front of the card I die cut three of the foliage pieces, two image #1 and one image #3 from figure #1 see below, from the Seasons of Green & Gold DSP using the coordinating dies (images #2 and #3 from figure #2 below) from the Golden Greenery Bundle (I love that the dies coordinate and cut these pieces out of the DSP).  I adhered the two image #1 pieces directly to the card and popped up the image #3 piece using Mini Dimensionals.  I stamped the sentiment “HAPPY BIRTHDAY” from the So Sincere stamp set in Old Olive Ink onto a scrap of Very Vanilla cardstock and die cut it out using the Greetings of the Seasons Dies (the long thin tag).  I added a Linen Thread Bow to it and popped it up on the card using Mini Dimensionals.

For the inside of the card, I cut a piece of Very Vanilla cardstock to 4 x 4 ¼” and stamped it using the Golden Greenery Dies from the bundle.  I stamped it by first stamping image #12 shown in Figure #3 in Old Olive Ink and then stamped over that using the stamp in image # 11 shown in Figure #3 in Soft Seafoam Ink (it is easier to line the stamps up if you stamp the darker color first).

Figure #1

Figure #2

Figure #3

I hope you enjoy this card I certainly enjoyed making it.  As always you can find the supplies to create this card and more on my website at https://www.stampinup.com?demoid=2206796 or by clicking the shopping button at the top of this blog or the link to the supplies listed below.  Be sure to follow me at: 

Facebook at:  https://www.facebook.com/craftwithronnie.stampinup.net

YouTube at: https://www.youtube.com/@ronniejohnsonstampinup

Instagram: https://www.instagram.com/craft_with_ronnie/


Happy Crafting!!!
Product List