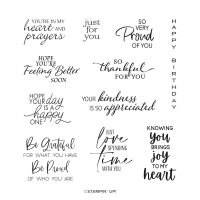
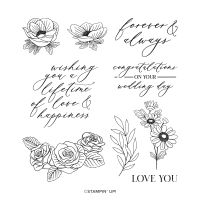
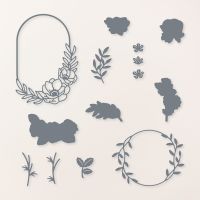
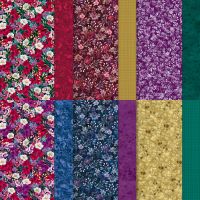
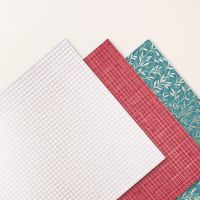
Today’s card features the Regal Winter DSP and the Regal Distressed Patterns Specialty DSP along with the Lifetime of Love stamps and dies, the So Sincere Stamps and the Spotlight on Nature Dies. I wanted to do a fun fold that used products from both the annual catalog as well as the September to December Mini Catalog for this card.
Here is what I came up
with…
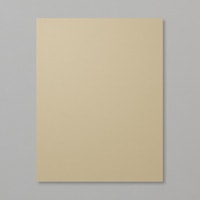
The card base is Crumb Cake cardstock cut
to 4 ¼” x 11”, then I cut 1 ½” off the 11” end and cut it down to 1 ½ x 4”, I scored
this piece at ½” and scored the remaining 4 ¼ x 9 ½” piece at 5 ½”. Then it was on to cutting the Designer Series
Paper, I cut a piece of the Regal Winter 12 x 12” DSP to 3 ¾ x 4” (if the paper
is directional be sure to consider that when cutting) and then I cut a piece of
the Regal Distressed Patterns Specialty DSP to 2 x 4”. I attached the larger piece of DSP to the left
side of my card front. Then I took my 1 ½
x 4” piece of Crumb Cake cardstock and attached the small ½” scored part to the
back of my 2 x 4” DSP piece centering it and then I attached it to the card
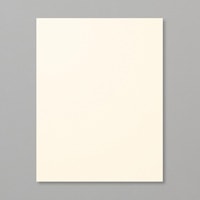
base being sure to leave an equal boarder around it. I cut a piece of Very Vanilla cardstock to 3 ¼
x 4” and stamped it with the leaf stamp from the Lifetime of Love stamps, I
also used this stamp to stamp the envelope using Pretty Peacock Ink (this is
totally optional, you can leave both the inside and envelope plain if you
prefer) and then placed it in the inside of my card butting it up to the DSP
piece.
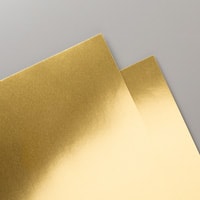
To decorate the card, I cut a piece of
Gold Foil using the Spotlight on Nature Dies (any shape would work) and I cut
the next smaller circle using those same dies out of Very Vanilla cardstock and
I stamped it with the sentiment “HOPE YOU’RE FEELING BETTER SOON” from the So
Sincere Stamp set using Pretty Peacock Ink.
I attached the two circles together and then I added it to the front of
the card using Dimensionals (NOTE: only put dimensionals on the left side so
you can stick your latch up under it).
For the latch itself I cut two sets of leaves, one from Gold Foil and
one from Pretty Peacock cardstock using the Lifetime of Love dies and attached
them with the ends tucked under where the latch is tucked under the
sentiment.
I hope you enjoy this card I certainly
enjoyed making it. As always you can
find the supplies to create this card and more on my website at https://www.stampinup.com?demoid=2206796 or by clicking the
shopping button at the top of this blog or the link to the supplies listed
below. Be sure to follow me at:
Facebook
at: https://www.facebook.com/craftwithronnie.stampinup.net
YouTube
at: https://www.youtube.com/@ronniejohnsonstampinup
Instagram: https://www.instagram.com/craft_with_ronnie/
Happy Crafting!!!
Product List




.jpg)


No comments:
Post a Comment