Featured Post

FUN WITH TEMPLATES

Today’s card features the Fern & Flora Bundle and the Moonlit Flora Designer Series Paper.  I fell in love with this suite the first tim...

Friday, January 24, 2025

DELIGHTFUL WISHES BIRTHDAY

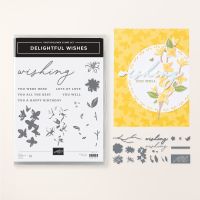
Today’s card features the new Delightful Wishes Suite Collection.  I love each and every component of this amazing collection.  The colors are beautiful and the tiny bees are adorable.  I loved working with it and plan to create a product based class to offer in February/March using it. 

Here is what I came up with…

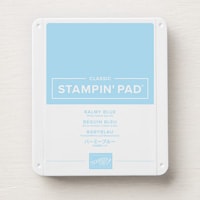
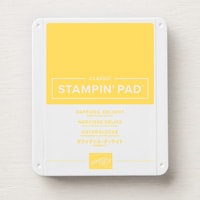
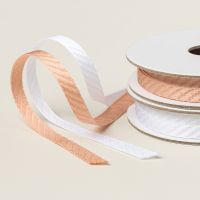
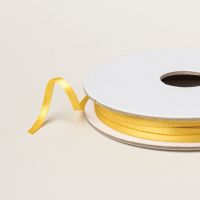
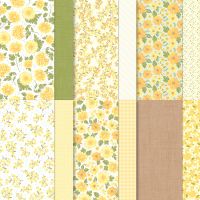
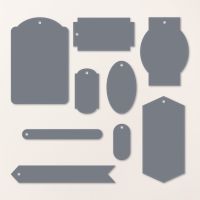
The card base is Daffodil Delight cardstock cut to 5 ½ x 8 ½” and scored at 4 ¼”.  I then added a layer of the Floral Delight 12 x 12” Designer Series Paper that was cut to 4 x 5 ¼”.  Next, I die cut two tags from the Greetings of the Seasons Dies (these dies are so versatile) one was cut from Balmy Blue cardstock and the second from another of the patterned papers from the Floral Delights DSP.  I off set them just a bit so both would show and I added a little piece of ¼” Diagonal Trim Combo Pack (I used the white ribbon) and then tied a little bow around that using the new Daffodil Delight 1/8” Satin Ribbon that is part of the Delightful Wishes Collection.  I added this to my card front. 

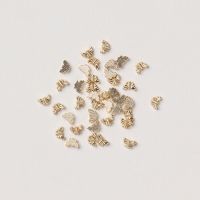
Then I die cut out the word “Wishing” from the coordinating dies in the set.  I cut the word layer out of Daffodil Delight cardstock and the shadow layer out of Balmy Blue cardstock.  I added it to my card using Mini Dimensionals.  I stamped the sentiment “YOU A HAPPY BIRTHDAY” onto a scrap of Basic White cardstock using Balmy Blue Ink and die cut it using the sentiment die from the Delightful Wishes Bundle.  I also added this using the Mini Dimensionals.  My final addition to the front of the card was one of the adorable Tiny Bee Trinkets. 

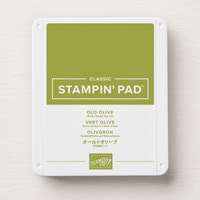
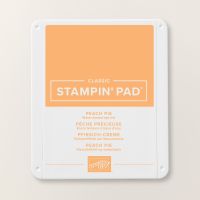
For the inside of the card I cut a piece of Basic White cardstock to 4 x 5 ¼”.  I stamped the flowers from the set onto the bottom right using Daffodil Delight Ink and Peach Pie Ink.  I then stamped the leaves onto it using Old Olive Ink. 

I hope you enjoy this card I certainly enjoyed making it.  As always you can find the supplies to create this card and more on my website at https://www.stampinup.com?demoid=2206796 or by clicking the shopping button at the top of this blog or the link to the supplies listed below.  I am listing individual supplies as well as a link to order the whole suite collection of products.  Be sure to follow me at: 

Facebook at:  https://www.facebook.com/craftwithronnie.stampinup.net

YouTube at: https://www.youtube.com/@ronniejohnsonstampinup

Instagram: https://www.instagram.com/craft_with_ronnie/


Happy Crafting!!! 

Product List
Wednesday, January 22, 2025

HIBISCUS SMILE

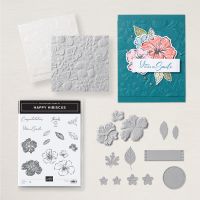
I really like the new Happy Hibiscus Bundle, which is an online exclusive.  This bundle includes the stamp and dies but it also includes a 3D Embossing Folder that coordinates with the dies so you can emboss and cut the beautiful flowers.  Today’s card was inspired by Susan Campfield, she is awesome and I often find inspiration from her.  I did make several adjustments to the card such as product and color.   

Here is what I came up with…

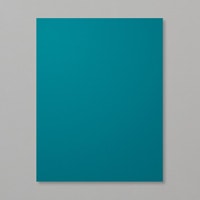
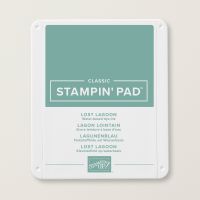
The card base is Basic White cardstock cut to 5 ½ x 8 ½” and scored at 4 ¼”.  I then cut a piece of Lost Lagoon cardstock to 1 ¾ x 5 ½” and embossed it with the 3D embossing folder from the bundle and added it to the left side of the card about 1/8” from the edge.  Next, I cut a piece of Soft Shimmer Specialty Designer Series Paper in Bubble Bath to ½ x 5 ½” and adhered that over the Lost Lagoon leaving a 3/8” reveal of the Lost Lagoon.  Then I cut a piece of Basic White cardstock to 3 ½ x 5 ½” and embossed it with the 3D Embossing Folder as well.  This was added even with the right-hand side of the card. 

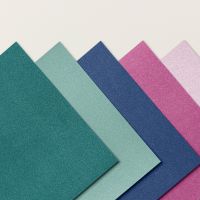
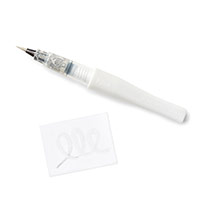
Now to embellish the card.  I started by brushing the center of all the flowers with Wink of Stella (hard to see in photos but beautiful in person).  Next, I used the Lost Lagoon soft shimmer paper and die cut two of the leaves using the dies from the bundle.  Once that was done, I cut two more of the leaves out of Pretty Peacock cardstock.  I used the Bough Punch (this is a great thing to have on hand) and punched two of the leaf sprays out of the Pretty Peacock Shimmer paper and two of the small buds from the punch were punched out of the Bubble Bath Shimmer Paper.  I used my bone folder to shape the leaves and leaf sprays to give them dimension and then adhered all the pieces to the front of the card. 

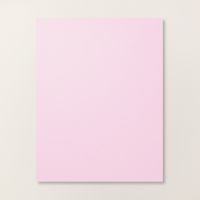
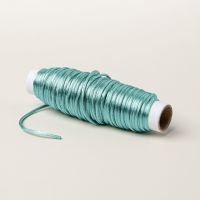
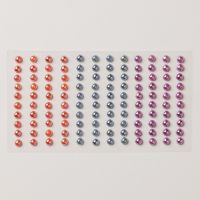
I used Bubble Bath cardstock that measured about 3 ¼ x 5 ¼” and embossed and die cut the Hibiscus flowers out using the die and 3D Embossing Folder from the bundle.  Once that was done, I chose to use the largest and smallest flower on my card.  I used a small blending brush and some Bubble Bath ink to ink the flowers just a bit to give them dimension.  I also used Wink of Stella to add glitter to the center of the large flower.  I added the flowers to the top of my greenery using Dimensionals.  With that completed I stamped the sentiment “You Make Me Smile” onto a scrap of Basic White cardstock using Lost Lagoon Ink and die cut it with the label die from the bundle.  I added it with Dimensionals as well.  My bow is a double that was created using the Lost Lagoon Soft Cording (it rally is soft) and I added it under the corner of my sentiment using Mini Glue Dots.  To finish off the card I added three pearls from the Adhesive-Backed Pearls Trio.

I hope you enjoy this card I certainly enjoyed making it.  As always you can find the supplies to create this card and more on my website at https://www.stampinup.com?demoid=2206796 or by clicking the shopping button at the top of this blog or the link to the supplies listed below.  Be sure to follow me at: 

Facebook at:  https://www.facebook.com/craftwithronnie.stampinup.net

YouTube at: https://www.youtube.com/@ronniejohnsonstampinup

Instagram: https://www.instagram.com/craft_with_ronnie/


Happy Crafting!!!

Product List
Monday, January 20, 2025

CITRUS BLOOMS VERTICAL BANDSTAND CARD

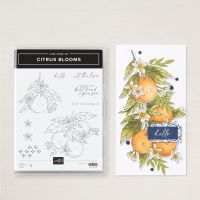
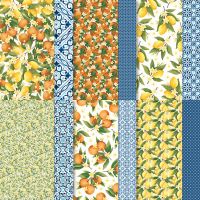
I previously posted a card using the Hearts of Elegance Bundle and the Marbled Elegance 12 x 12” Specialty Designer Series Paper to make a vertical bandstand card.  Today I decided to make another this time featuring the Citrus Blooms Stamp set and the Mediterranean Blooms Designer Series Paper.  I am loving these cards

Here is what I came up with…


You can find all the measurements and instructions over on my January 15th post.  I really hope you will give this card a try it is a lot of fun and very impressive looking when finished. 

To decorate this card, I did use the Mediterranean Blooms DSP and I fussy cut out one of the lemons for the front.  The sentiments are from the Citrus Blooms Stamp set, the die cut for the hello is from the Nested Essentials Dies

I am very happy with how the card turned out and want to say thanks again to Iced Designs and Susan Canfield for the inspiration.  I hope you enjoy this card I certainly enjoyed making it.  As always you can find the supplies to create this card and more on my website at https://www.stampinup.com?demoid=2206796 or by clicking the shopping button at the top of this blog or the link to the supplies listed below.  Be sure to follow me at: 

Facebook at:  https://www.facebook.com/craftwithronnie.stampinup.net

YouTube at: https://www.youtube.com/@ronniejohnsonstampinup

Instagram: https://www.instagram.com/craft_with_ronnie/


Happy Crafting!!!

Product List
Friday, January 17, 2025

TERRIFIC TOADSTOOL EASEL CARD

Today’s card features the Terrific Toadstool Bundle and the adorable Toadstool Garden 6 x 6” Designer Series Paper (this paper is a freebie you can earn with a $60.00 purchase during Sale-A-Bration).  Since it is winter here in North Carolina and it is cloudy and overcast I love the bright colors in this paper as they make me think of spring.  I wanted to do an easel card that would highlight both the bundle and this cute coordinating paper. 

Here is what I came up with…

The card base is Granny Apple Green cardstock cut to 5 ½ x 8 ½” and scored at 2 1/8 and 4 ¼”.  I then cut another piece of Granny Apple Green cardstock to 4 ¼ x 5 ½” to create the top of my easel.  I attached the bottom of my 4 ¼ x 5 ½” piece of cardstock to my card base being sure to only adhere it up to the 2 1/8” score line.  I then added a piece of the cute Toadstool Garden Designer Series Paper to the front of the card, it measures 4 1/8 x 5 3/8”. 

Next, I cut a piece of Basic White cardstock to 2 ¾ x 4” and started to add my stamping to this piece.  I started by stamping the sentiment “Poppin’ Up to say hi” to the top left corner using Melon Mambo Ink.  I used Smoky Slate ink and stamped some of the mushroom stems around the card.  I added the cut little stamp that has 3 little mushrooms to the smaller stems, one set was stamped in Melon Mambo and the other in Pumpkin Pie.  For the two larger mushrooms I stamped one in Melon Mambo and the other in Pumpkin Pie onto a scrap of Basic White cardstock and then used the coordinating punch that comes with the bundle to punch them out.  I added the two mushroom caps to my stems using Dimensionals to create that 3D affect.  I added this piece to a piece of Granny Apple Green that measures 4 1/8 x 2 7/8” and then centered that on the front of my card and attached it with Dimensionals (again to add height and interest). 

For the inside of the card I started by creating the step that will hold my easel card up for display.  I cut a piece of Granny Apple Green cardstock to 1 x 5 ½” and added a piece of the Toadstool Garden DSP (I picked this cute striped piece) that measures 7/8 x 5 3/8” to the top of the green strip.  I added this to the very bottom of the inside of the card.  NOTE:  you could add this with Dimensionals for a bigger step but I chose not to as I had already added so many layers in other areas.  Next, I cut a piece of Basic White cardstock to 3 1/8 x 5 3/8” and stamped the stems for the small mushrooms in Smokey Slate Ink and added the three little mushrooms in Pumpkin Pie Ink. 

I hope you enjoy this card I certainly enjoyed making it.  As always you can find the supplies to create this card and more on my website at https://www.stampinup.com?demoid=2206796 or by clicking the shopping button at the top of this blog or the link to the supplies listed below.  Be sure to follow me at: 

Facebook at:  https://www.facebook.com/craftwithronnie.stampinup.net

YouTube at: https://www.youtube.com/@ronniejohnsonstampinup

Instagram: https://www.instagram.com/craft_with_ronnie/


Happy Crafting!!!


Wednesday, January 15, 2025

HEARTS OF ELEGANCE VERTICAL BANDSTAND CARD (1-15-25)

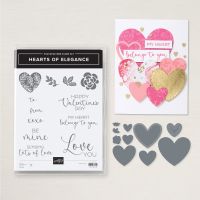
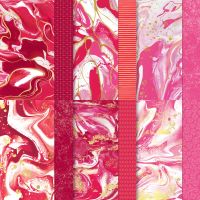
Today’s card is a fun fold that features the Hearts of Elegance Bundle and the Marbled Elegance 12 x 12” Specialty Designer Series Paper.  This fold is called a vertical bandstand card and the first card like this that I saw was created by Iced Designs and I tried to recreate it but had trouble converting from centimeters to inches.  I saw a Youtube video done by Susan Canfield (I always love her designs, she is a very talented lady) where she converted it to inches and used this same set of products so I knew I would be able to create one finally.

Here is what I came up with…

The card base is Real Red cardstock cut to 4 1/8 x 5 ½”, scored at ¾” and 3 3/8” and folded into valley folds on the score lines.  Then there are two band (one for the top and one for the bottom that are 1 ¼ x 5 ¾”, scored at ¾”, 2’, 3 ¾” and 5” and folded in mountain folds on each of those score lines.  Once you have those pieces created you will add your Designer Series Paper to the inside of the card.  You will need 2 pieces that are ½ x 5 ¼” for the two small sides and one that is 2 3/8 x 5 ¼” for the center.  With that done you will need to add the Designer Series Paper to the sections on the bands.  You will need 2 sets of Designer Series Paper (one for each band) with pieces that are 1 x 1”, 1 ½ x 1 ½” and 1 x 1” attach these to each of the panel areas.

You are now ready to make your bandstand card stand up.  Center your bands across the card (you will notice that there is about 1/16” extra on each end where you wrap it around to the back of the card, this is necessary to allow the card to fold flat) and adhere to the back of the card being sure to keep it even with the top of the card base.  Do the same thing with the bottom band.  Next, we are going to add two pieces of Designer Series Paper to the back of the card on the two small flaps, this paper is 5/8 x 5 ¼”.  For the center back you will cut a piece of Basic White cardstock to 2 3/9 x 5 ¼” and stamp your sentiment before attaching to the center back of the card.

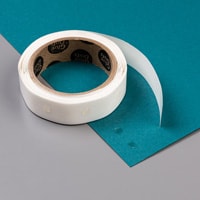
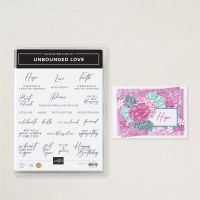
Now to add our floating hearts and sentiment.  Cut a piece of Window Sheet to 1 5/8 x 4” and adhere to the inside center of each the top and bottom band.  I used Tear & Tape to adhere them because it is nice and strong and works better than liquid glue with the window sheet.  To decorate I used the Hearts of Elegance Dies and cut out the heart shaped die with the cute little leaf pattern from Real Red cardstock and then I cut the smallest (it is stitched) out of Gold Foil and adhered them to the center of my window sheet.  Next, I stamped the sentiment “YOU ARE loved” from the Unbounded Love Stamp Set (I wanted something small) onto a scrap of Basic White cardstock using Real Red ink and die cut that using one of the Stylish Shapes Dies (remember you can use any stamp or die you want) and added it to the center of the card.

I am very happy with how the card turned out and want to say thanks again to Iced Designs and Susan Canfield for the inspiration.  I hope you enjoy this card I certainly enjoyed making it.  As always you can find the supplies to create this card and more on my website at https://www.stampinup.com?demoid=2206796 or by clicking the shopping button at the top of this blog or the link to the supplies listed below.  Be sure to follow me at: 

Facebook at:  https://www.facebook.com/craftwithronnie.stampinup.net

YouTube at: https://www.youtube.com/@ronniejohnsonstampinup

Instagram: https://www.instagram.com/craft_with_ronnie/


Happy Crafting!!! 

Product List
Saturday, January 4, 2025

I will be back

I have not posted in quite some time.  Some of you already know that my husband and I were expecting a granddaughter who was due on November 7th.  Unfortunately, just a few days before she was to make her grand entrance into this world she passed away.  It was heartbreaking and no one really knows exactly what happened.  The doctors believe it was a cord accident but could not find any physical signs of what happened.  So Charlotte "Charlie" Reese Johnson was born into the arms of our Lord on October 25th at 7 pounds 5 ounces and 20" long with beautiful red hair.  Needless to say we have struggled with our loss and watching our children struggle with theirs.  I have had no energy or desire to do much in the way of crafting and the holidays came and went and we simply went through the motions.  I did however vow that I will honor her memory by returning to my normal life in the new year and create hoping to make something that is 1/10th as beautiful as she was.  She will forever be in my heart and loved more than I knew I could love someone.  I will be returning to creating and posting very soon.  Thank you for understanding.


Monday, December 9, 2024

Free Shipping December 9 -11

 Love getting free shipping?  I know I sure love it!  All order types qualify for this promotion.  Free shipping is for three days only, December 9th through the 11th. Free shipping automatically applies to your cart after the qualifying amount has been met, which is $75 USD (before tax).


Happy Crafting!!!