Featured Post

FUN WITH TEMPLATES

Today’s card features the Fern & Flora Bundle and the Moonlit Flora Designer Series Paper.  I fell in love with this suite the first tim...

Wednesday, March 19, 2025

THE GIFT OF FRIENDSHIP

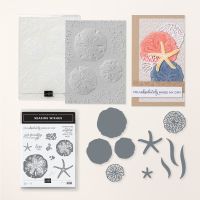
Today’s card features the Seaside Wishes Bundle and the Country Woods Designer Series Paper.  I love how these two products work together.  I also love how the Seaside Wishes Bundle comes with that great hybrid 3D embossing folder that embosses and die cuts the sand dollars at the same time. 

Here is what I came up with…

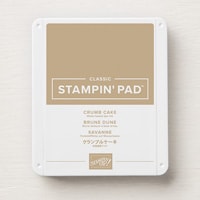
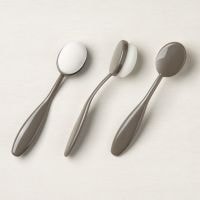
The card base is Basic Beige cardstock cut to 5 ½ x 8 ½” and scored at 4 ¼”.  Then I cut a piece of the Country Woods Designer Series Paper to 3 x 5 ½” but before adding it to my card base, I added strips of Crumb Cake cardstock to each side.  I cut it about ½” wide and then just added it to the back of the DSP keeping about ¼” showing.  With that done I adhered it to my card front.  Next, I took a piece of Basic Beige that measured 4 ¼ x 5” and added it to the embossing folder with the dies so I could get the three sand dollars embossed and cut.  I used a Blending Brush and some Crumb Cake Ink and lightly inked the sand dollars to make the detail pop a little more.  I took the middle size one and set it aside for the inside.  Then I took a scrap of Basic White cardstock and die cut one of the images from the bundle.  I added the largest of the sand dollars to the right side of the card near the top edge of the DSP using Dimensionals.  I added the white shell adhering it directly to the large sand dollar.  Then I added the smallest sand dollar to the bottom left edge of the large sand dollar using Dimensionals where it did not overlap and adhesive where it did. 

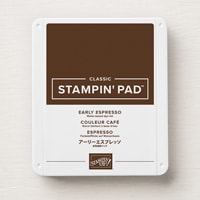
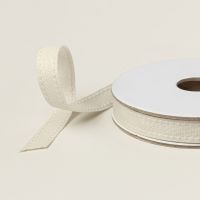
For my sentiment I used the label die from the Enduring Beauty Dies to die cut it out of Basic Beige cardstock.  I added the sentiment “your friendship is the best gift” from the Seaside Wishes stamp set onto it using Early Expresso Ink.  I cut a piece of Basic Beige Ribbon to about 7” and made a loop and attached it to the back of the label with a piece of Tear & Tape.  Then I added the sentiment and ribbon to the front of the card. 


For the inside I added a piece of Basic White cardstock that measured 4 x 5 ¼” and that middle-sized sand dollar.

I hope you enjoy this card I certainly enjoyed making it.  As always you can find the supplies to create this card and more on my website at https://www.stampinup.com?demoid=2206796 or by clicking the shopping button at the top of this blog or the link to the supplies listed below.  Be sure to follow me at: 

Facebook at:  https://www.facebook.com/craftwithronnie.stampinup.net

YouTube at: https://www.youtube.com/@ronniejohnsonstampinup

Instagram: https://www.instagram.com/craft_with_ronnie/


Happy Crafting!!!

Product List
Monday, March 17, 2025

HIBISCUS THANK YOU

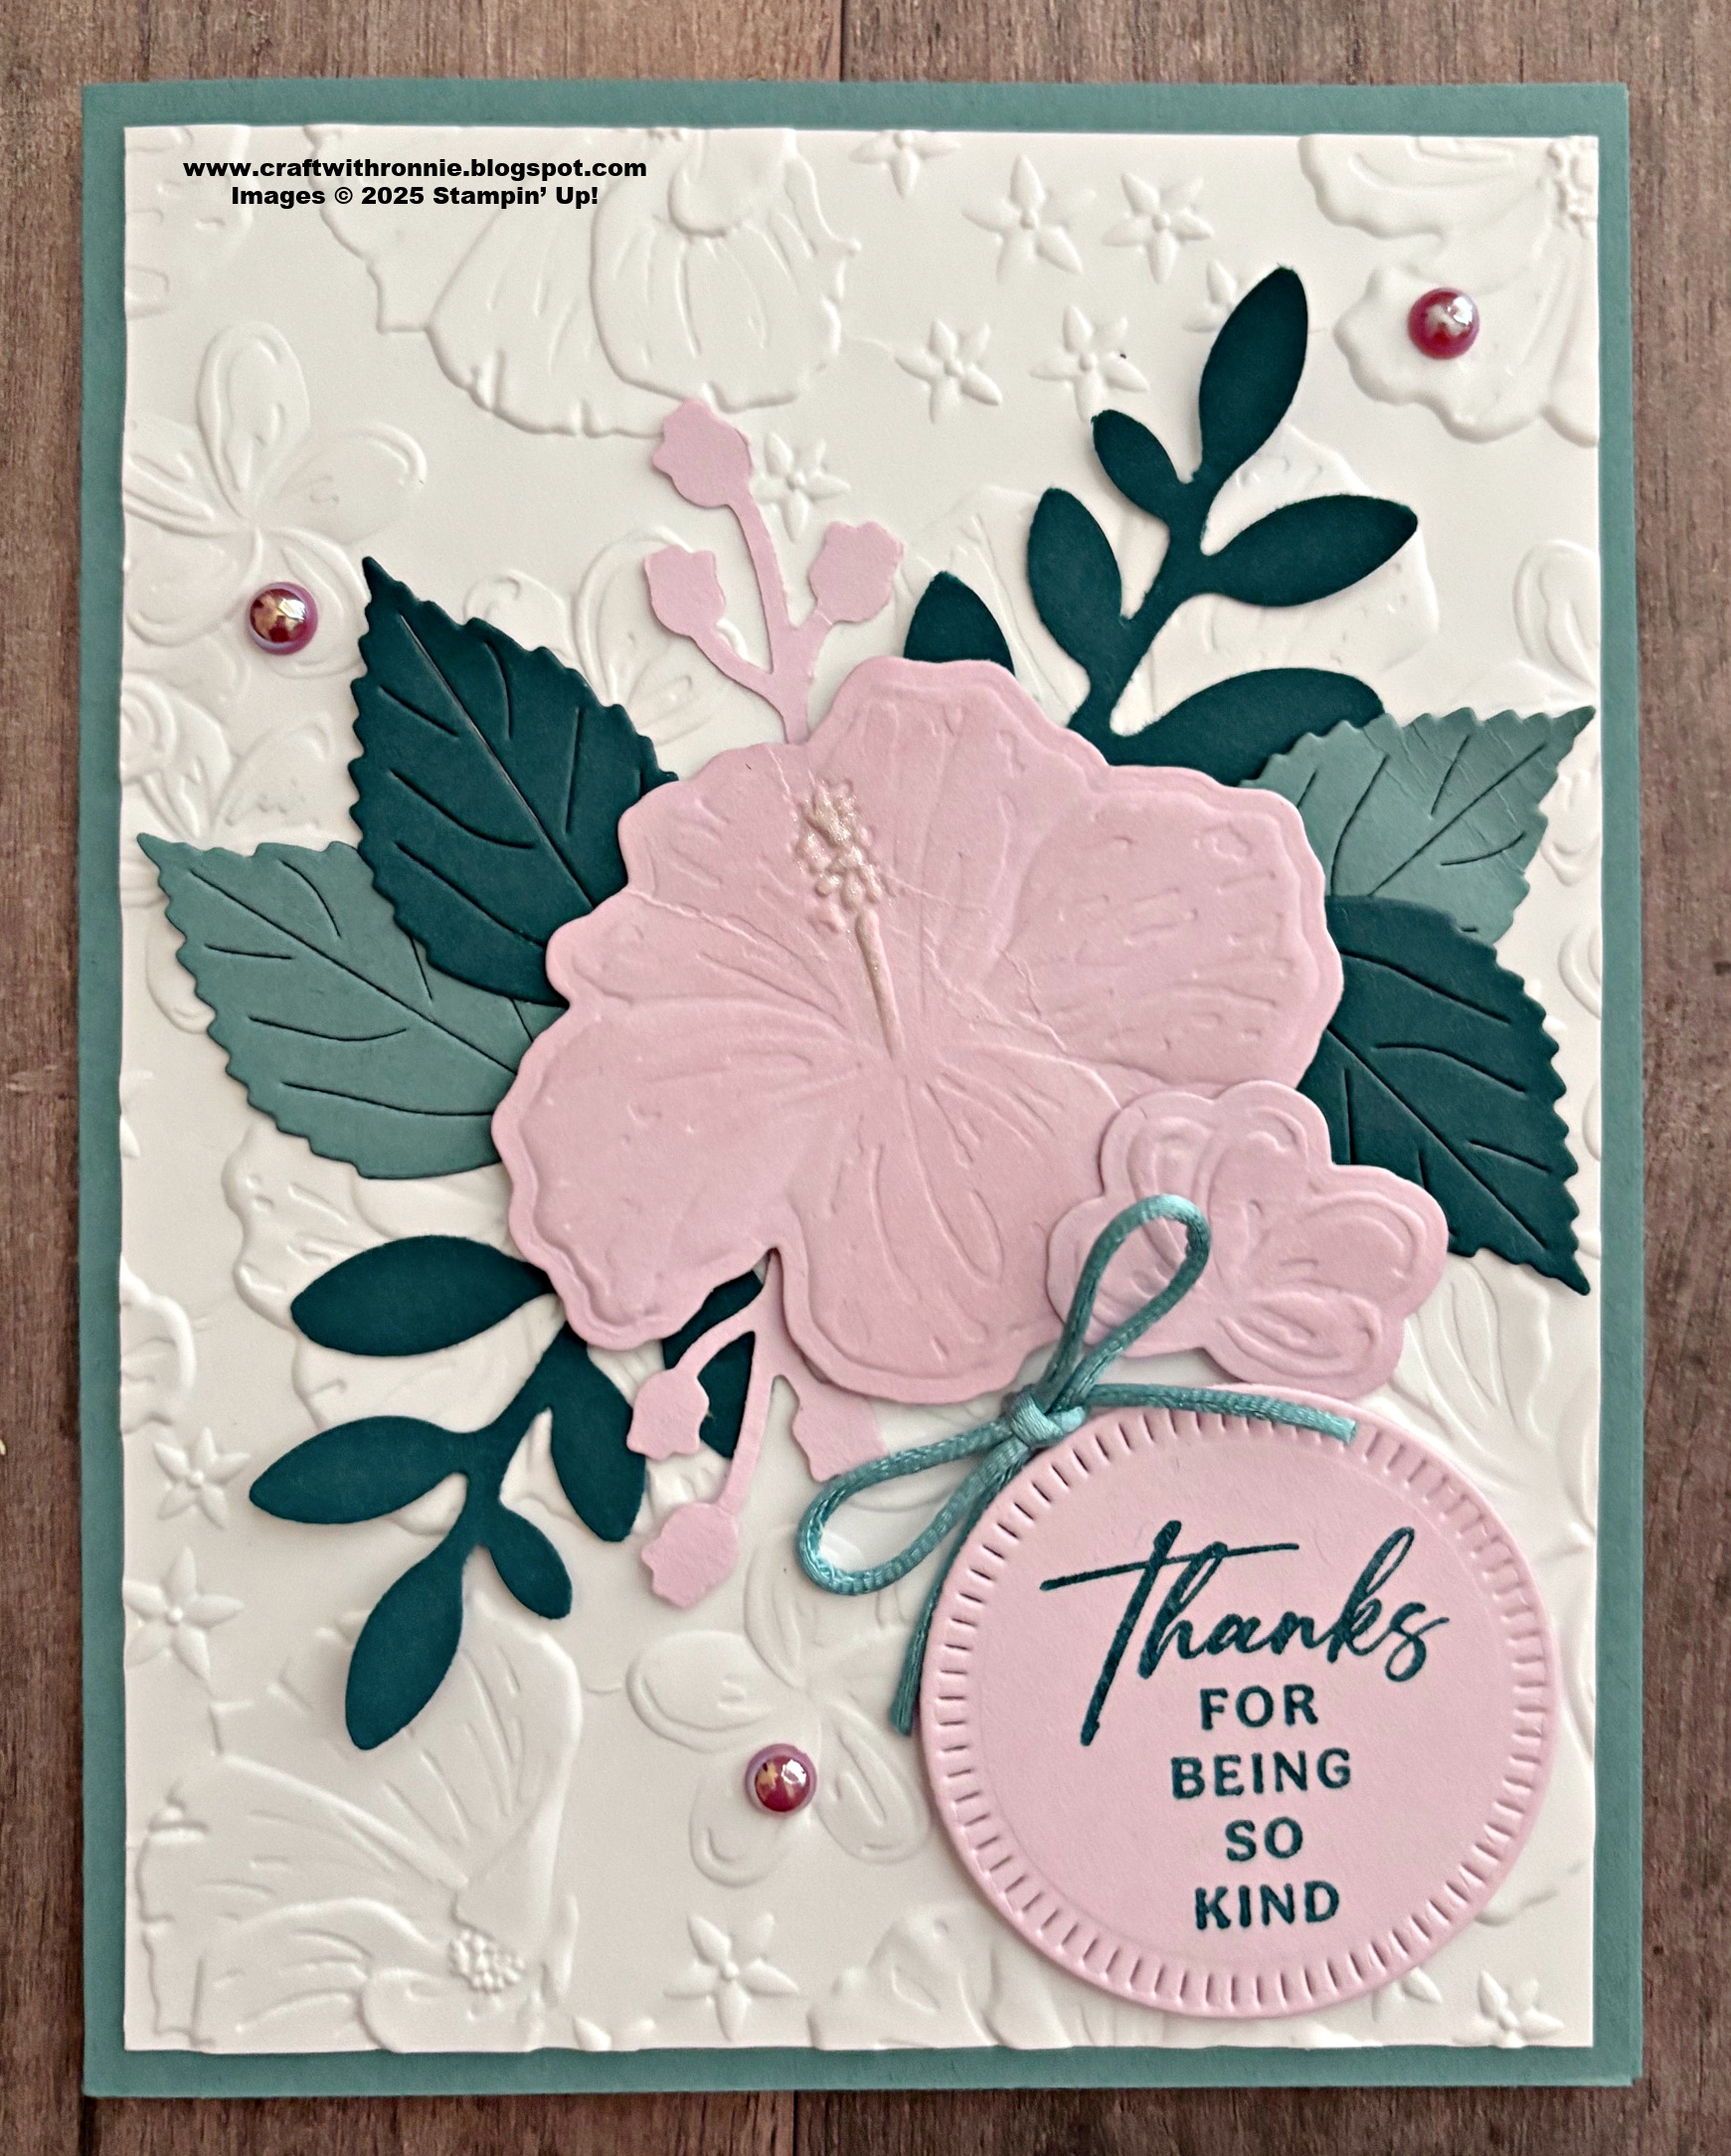
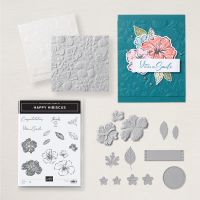
Today’s card features the Happy Hibiscus Bundle.  I wanted to play around with some colors you don’t often see paired.  Here is what I came up with…

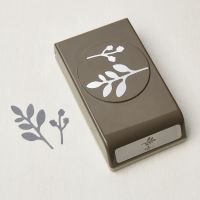
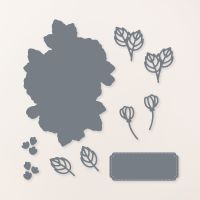
The card base is Lost Lagoon cardstock cut to 5 ½ x 8 ½” and scored at 4 ¼”.  I cut a piece of Basic White cardstock to 4 x 5 ¼” and used the Hybrid 3D Embossing folder from the bundle to emboss it, once it was embossed, I added it to my card base.  Next, I started to cut out my pieces, I cut out four of the leaves from the bundle, 2 from Lost Lagoon cardstock and 2 from Pretty Peacock cardstock.  Then I used the Bough Punch and punched out 2 of the bigger branches of leaves from Pretty Peacock cardstock and 2 of the little flower ones from Bubble Bath cardstock.  Now it was time for the main focal point.  I took a piece of Bubble Bath cardstock that measured 3 x 4” and laid it along with the coordinating die in the Hybrid Embossing Folder being sure to get all three of the flowers lined up to emboss and cut.  This folder and die are such a great idea, emboss and cut at the same time!  Once those were cut out, I used a Blending Brush and some Bubble Bath Ink to add just a little color to each of the flowers.  I did use Wink of Stella to add to the center of the larger two flowers. 

With everything cut I simply started laying things out to space them the way I wanted (reserve the middle size flower for the inside of the card).  Once that was all figured out, I started to adhere things.  I began with the two branches I punched and used my bone folder to curl them on the ends just a little before adhering the bottoms directly to the card.  Then I did the same thing with the little Bubble Bath flowers that were punched and added them.  I gave each of the leaves a little movement using that bone folder technique before adhering them.  Finally, I added my flowers using Dimensionals.

For my sentiment I die cut the circle from the bundle out of Bubble Bath cardstock and stamped the sentiment “Thanks for Being So Kind” from the bundle onto it with Pretty Peacock Ink.  I added that at the right bottom.  For the final embellishments I added three of the Adhesive-Backed Pearl Trio embellishments and a bow created from the Lost Lagoon Soft Cording (this was attached with a Mini Glue Dot.

For the inside of the card, I used the second largest flower and adhered it to a piece of Basic White cardstock that measured 4 x 5 ¼”. 

I hope you enjoy this card I certainly enjoyed making it.  As always you can find the supplies to create this card and more on my website at https://www.stampinup.com?demoid=2206796 or by clicking the shopping button at the top of this blog or the link to the supplies listed below.  Be sure to follow me at: 

Facebook at:  https://www.facebook.com/craftwithronnie.stampinup.net

YouTube at: https://www.youtube.com/@ronniejohnsonstampinup

Instagram: https://www.instagram.com/craft_with_ronnie/


Happy Crafting!!!

Product List
Friday, March 14, 2025

MIXED FLORALS FUN FOLD

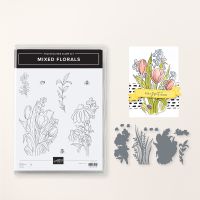
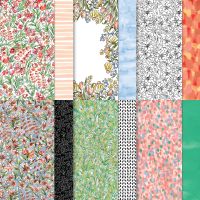
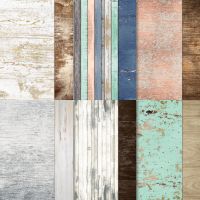
Today’s card features the Mixed Florals Bundle from the Online Exclusive products.  I have fallen in love with this whole collection as it is great to create with.  I wanted to use two different papers from the Designer Series Paper on my project (which was inspired by a TikTok video posted by Dani Gurrola) to show off as much of it as I could on one card. 

Here is what I came up with…

The card base is Boho Blue cardstock cut to 5 ½ x 8 ½” and scored at 2 1/8 and 4 ¼”.  I folded the 2 1/8” score line back onto the card and used my bone folder to really burnish it well.  I added a piece of the petal pink and white striped Designer Series Paper cut to 1 7/8 x 5 ¼” to that area.  Then I opened up the card and added a piece of the Designer Series Paper that measured 4 x 5 ¼” to the inside right.  To finish the inside of the card I also added a piece of Basic White cardstock that measured 1 7/8 x 5 ¼” where you can write your message. 

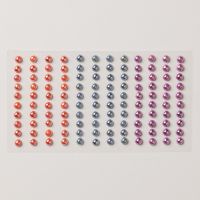
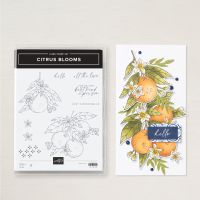
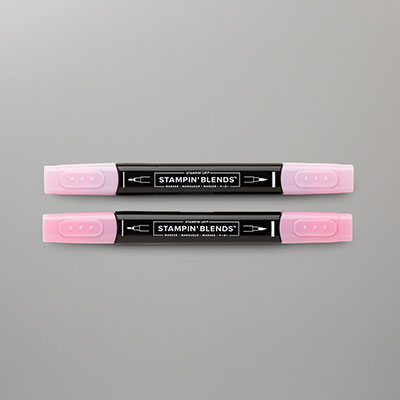
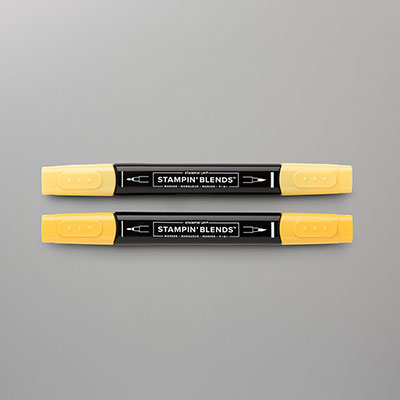
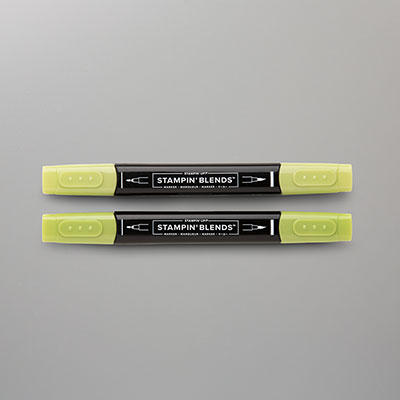
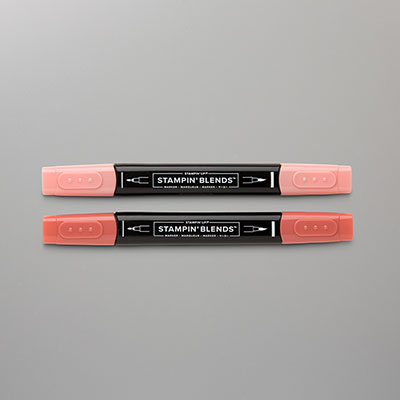
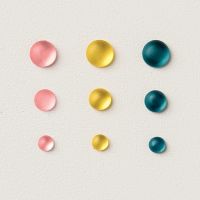
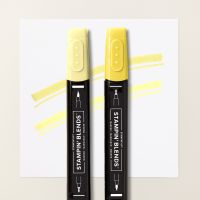
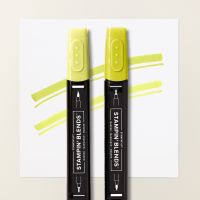
With that all done it was time to decorate.  I die cut a circle from a piece of Boho Blue cardstock that measured 3 ¼” square using the largest of the circles from the Stylish Shapes Dies.  Then I grabbed a piece of Basic White cardstock that measured about 2 ¾ x 2 ¾” and stamped one of the flowers from the Mixed Floral stamps onto it using Tuxedo Black Memento Ink (be sure to keep it low enough to add your sentiment” and I used the second largest of the circles from the Stylish Shapes Dies to cut it out.  I added the sentiment “hello” which is from the Citrus Blooms Stamp Set again using Memento Ink.  I also took a piece of Basic White cardstock that measured 1 ½ x 3 ¼” and stamped the leaves from the stamp set in Memento Ink.  I used the Stampin’ Blends listed in the product list below to color in my flower and leaves.  Once everything was colored, I simply adhered the pieces to the card.  I did add a brush of Wink of Stella just to the pink coneflower.  I added three pink gems from the Loose Frosted Dots to the front of the card. 

I hope you enjoy this card I certainly enjoyed making it.  As always you can find the supplies to create this card and more on my website at https://www.stampinup.com?demoid=2206796 or by clicking the shopping button at the top of this blog or the link to the supplies listed below.  Be sure to follow me at: 

Facebook at:  https://www.facebook.com/craftwithronnie.stampinup.net

YouTube at: https://www.youtube.com/@ronniejohnsonstampinup

Instagram: https://www.instagram.com/craft_with_ronnie/


Happy Crafting!!! 

Product List
Wednesday, March 12, 2025

THE STORM

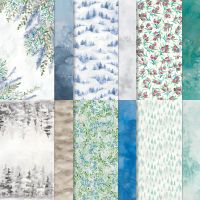
Today’s card features the Umbrella Days Bundle and Winter Meadow Designer Series paper.   The sentiment “The storm will end and the sun will shine again” caught my attention and I knew I wanted to create with it.  Here is what I came up with…

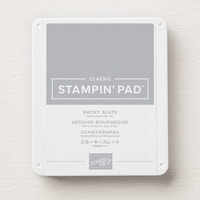
The card base is Lemon Lime Twist cardstock cut to 4 ¼ x 11” and scored at 5 ½”.  I cut a piece of the Winter Meadow Designer Series Paper (I thought this gray one was perfect for a storm) to 4 x 5 ¼”.  I stamped my sentiment in the lower right corner using Tuxedo Black Memento Ink and then using Smokey Slate Ink I added the rain.  Once the stamping was done, I attached it to my card base.  Next, I stamped the larger of the two girls with umbrellas from the set onto a scrap of Basic White cardstock again using that Memento Ink.  I colored the image in using the Stampin’ Blends listed in the product list below.  Once it was all colored in, I die cut the image using the coordinating die from the bundle.  I also used one of the cloud dies to create what looks like a puddle.  I cut it out of a scrap of Basic White cardstock and then inked it using a Dauber and Smoky Slate Ink.  I decided where I was going to place my image of the girl and then adhered the puddle to the Designer Series Paper and then I popped the image of the girl up on the card with Dimensionals, having her standing at the edge of the puddle. 
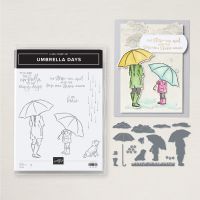
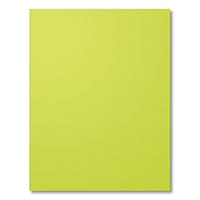
For the inside of the card, I cut a piece of Basic White cardstock to 4 x 5 ¼” and stamped the little dog from the set with the Memento down the lower corner.  Then I die cut him a cute little coat (using one of the dies in the bundle) out of a scrap of the Lemon Lime Twist cardstock and adhered it. 

I hope you enjoy this card I certainly enjoyed making it.  As always you can find the supplies to create this card and more on my website at https://www.stampinup.com?demoid=2206796 or by clicking the shopping button at the top of this blog or the link to the supplies listed below.  Be sure to follow me at: 

Facebook at:  https://www.facebook.com/craftwithronnie.stampinup.net

YouTube at: https://www.youtube.com/@ronniejohnsonstampinup

Instagram: https://www.instagram.com/craft_with_ronnie/


Happy Crafting!!! 

Product List