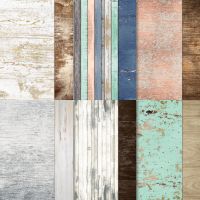
Today’s card features the Seaside Wishes Bundle and the Country Woods Designer Series Paper. I love how these two products work together. I also love how the Seaside Wishes Bundle comes with that great hybrid 3D embossing folder that embosses and die cuts the sand dollars at the same time.
Here is what I came up
with…

The card base is Basic Beige cardstock cut
to 5 ½ x 8 ½” and scored at 4 ¼”. Then I
cut a piece of the Country Woods Designer Series Paper to 3 x 5 ½” but before
adding it to my card base, I added strips of Crumb Cake cardstock to each
side. I cut it about ½” wide and then
just added it to the back of the DSP keeping about ¼” showing. With that done I adhered it to my card
front. Next, I took a piece of Basic
Beige that measured 4 ¼ x 5” and added it to the embossing folder with the dies
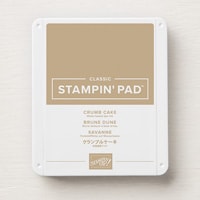
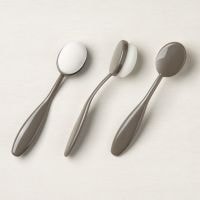
so I could get the three sand dollars embossed and cut. I used a Blending Brush and some Crumb Cake
Ink and lightly inked the sand dollars to make the detail pop a little
more. I took the middle size one and set
it aside for the inside. Then I took a scrap
of Basic White cardstock and die cut one of the images from the bundle. I added the largest of the sand dollars to
the right side of the card near the top edge of the DSP using
Dimensionals. I added the white shell adhering
it directly to the large sand dollar.
Then I added the smallest sand dollar to the bottom left edge of the
large sand dollar using Dimensionals where it did not overlap and adhesive
where it did.
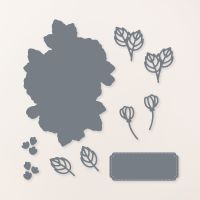
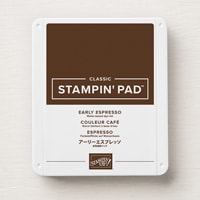
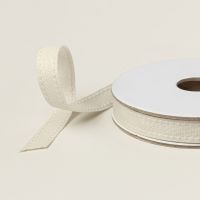
For my sentiment I used the label die from the Enduring Beauty Dies to die cut it out of Basic Beige cardstock. I added the sentiment “your friendship is the best gift” from the Seaside Wishes stamp set onto it using Early Expresso Ink. I cut a piece of Basic Beige Ribbon to about 7” and made a loop and attached it to the back of the label with a piece of Tear & Tape. Then I added the sentiment and ribbon to the front of the card.

For the inside I added a piece of Basic
White cardstock that measured 4 x 5 ¼” and that middle-sized sand dollar.
I hope you enjoy this card I certainly
enjoyed making it. As always you can
find the supplies to create this card and more on my website at https://www.stampinup.com?demoid=2206796 or by clicking the
shopping button at the top of this blog or the link to the supplies listed
below. Be sure to follow me at:
Facebook
at: https://www.facebook.com/craftwithronnie.stampinup.net
YouTube
at: https://www.youtube.com/@ronniejohnsonstampinup
Instagram: https://www.instagram.com/craft_with_ronnie/
Happy Crafting!!!
Product List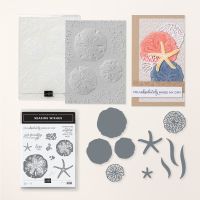





No comments:
Post a Comment