Today’s card features the Happy Hibiscus Bundle. I wanted to play around with some colors you don’t often see paired. Here is what I came up with…
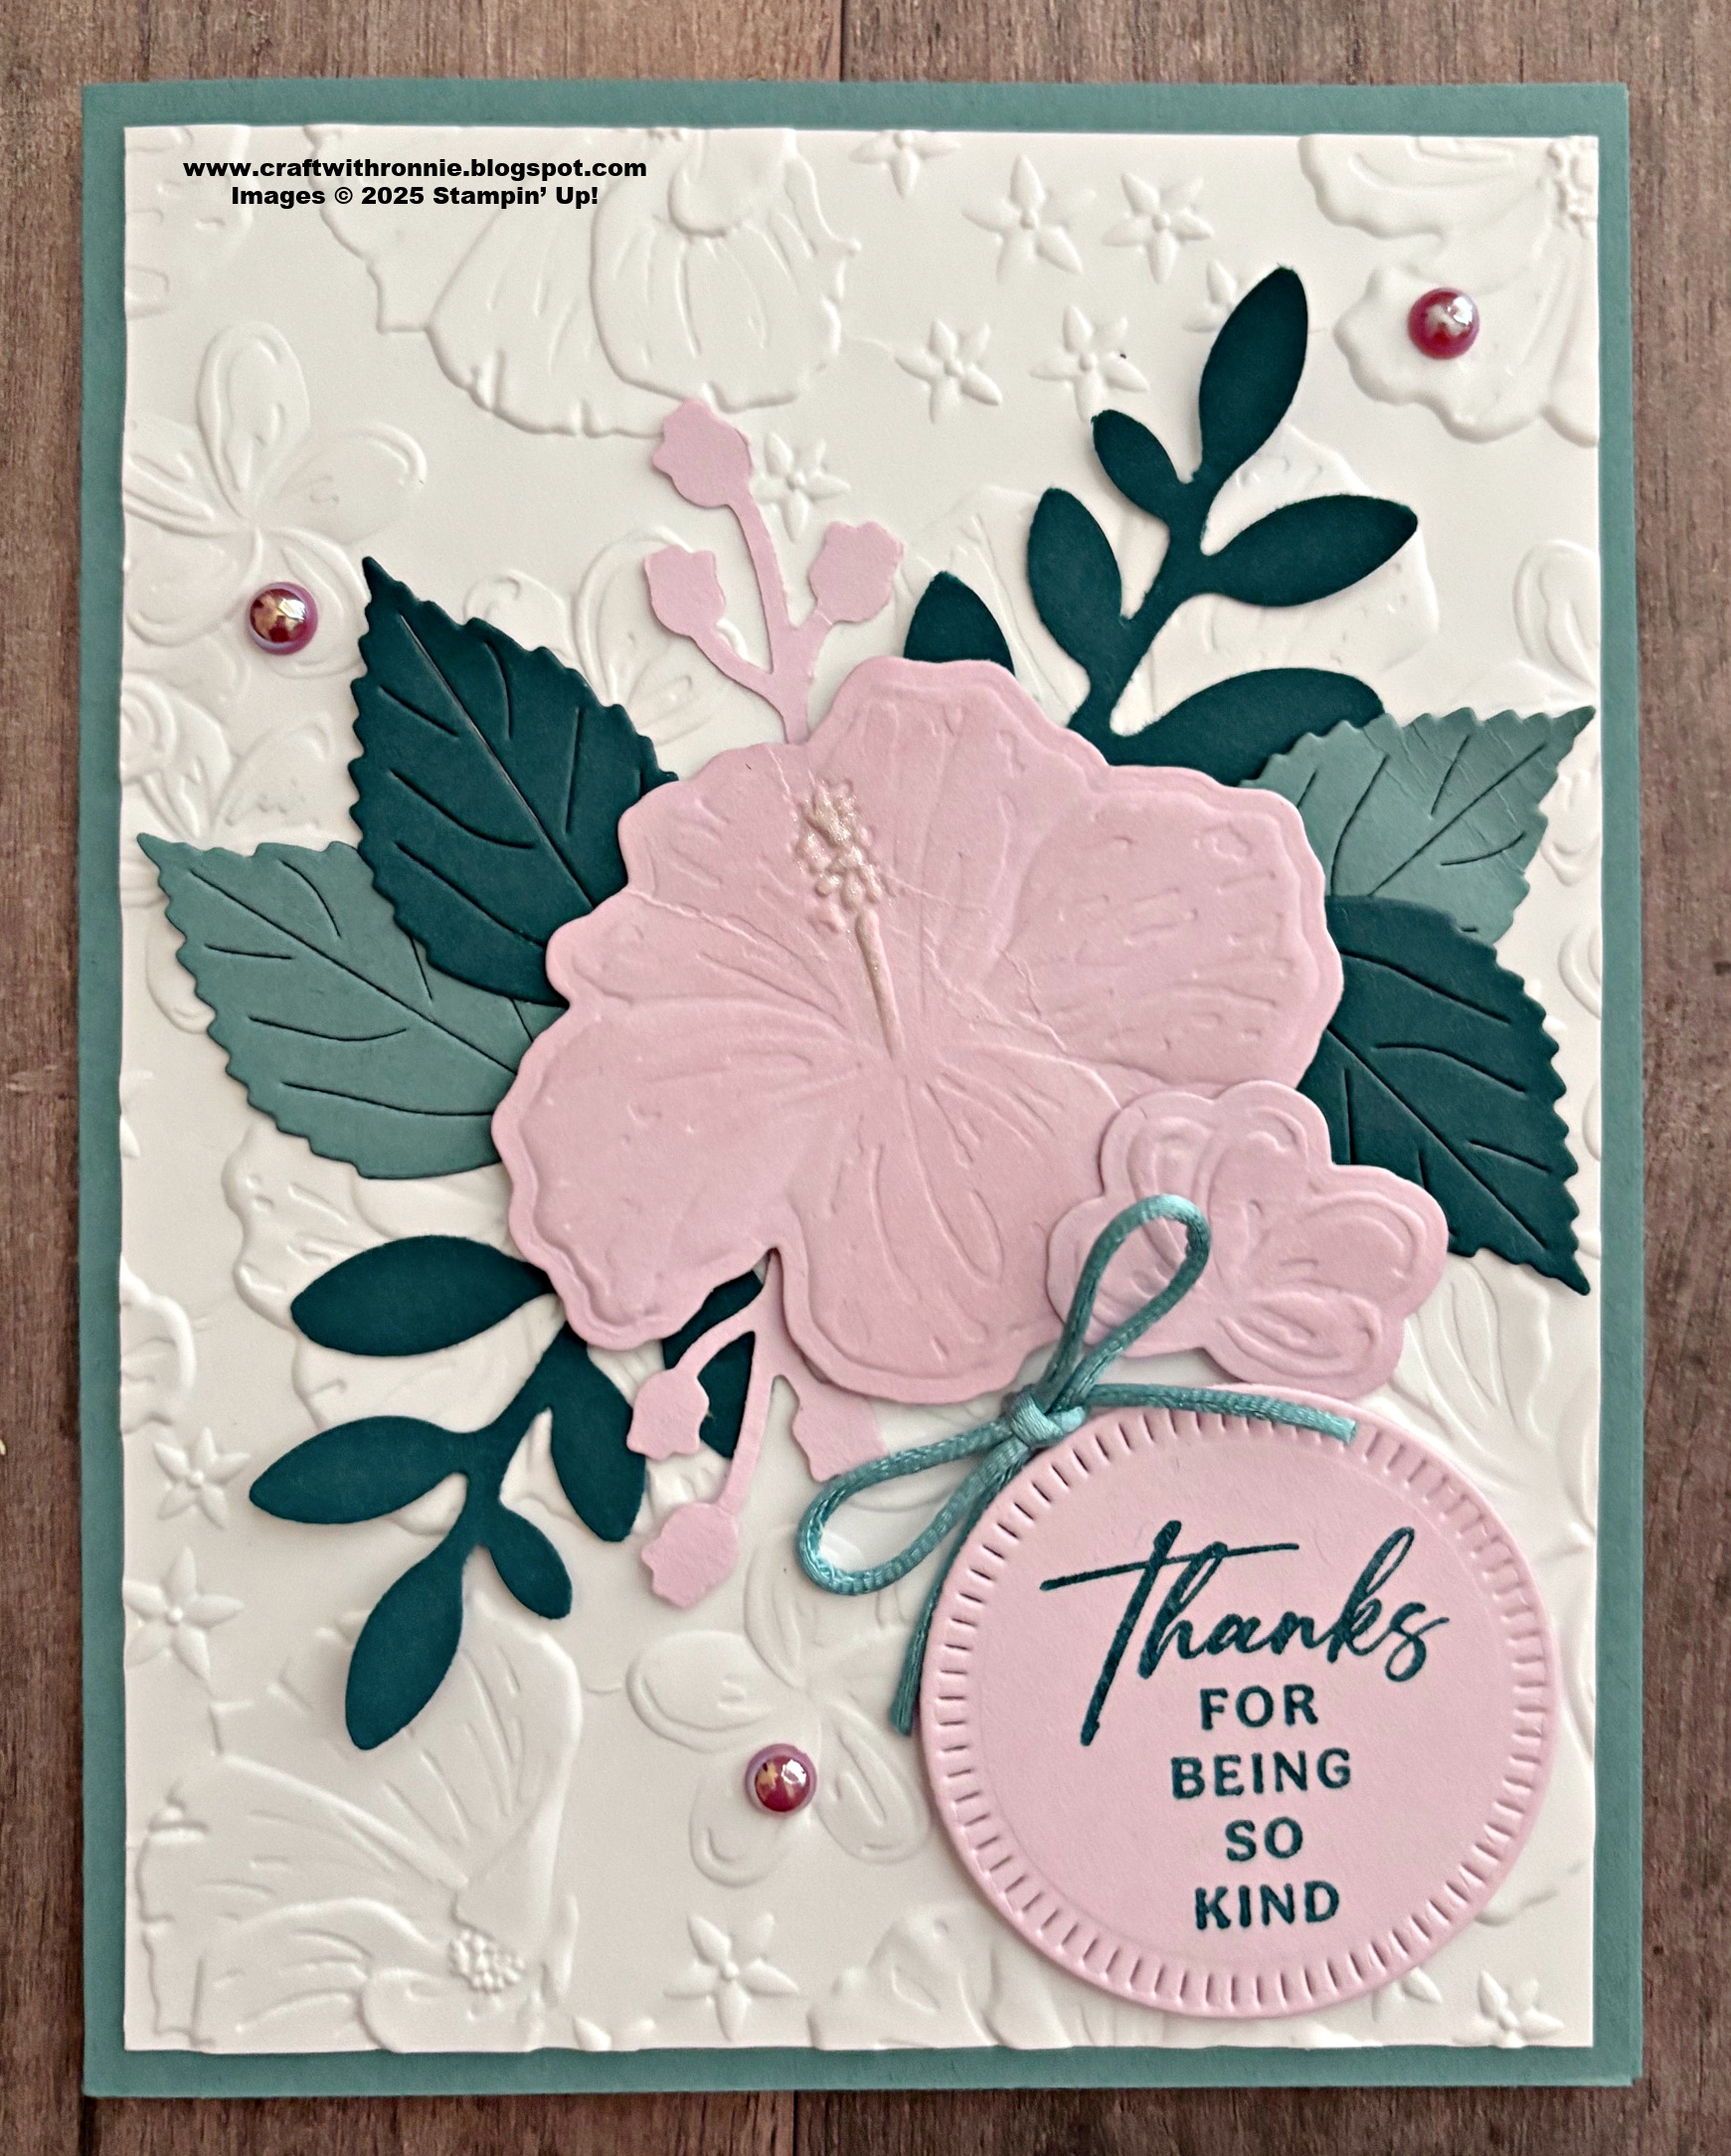
The card base is Lost Lagoon cardstock cut
to 5 ½ x 8 ½” and scored at 4 ¼”. I cut
a piece of Basic White cardstock to 4 x 5 ¼” and used the Hybrid 3D Embossing
folder from the bundle to emboss it, once it was embossed, I added it to my
card base. Next, I started to cut out my
pieces, I cut out four of the leaves from the bundle, 2 from Lost Lagoon
cardstock and 2 from Pretty Peacock cardstock.
Then I used the Bough Punch and punched out 2 of the bigger branches of
leaves from Pretty Peacock cardstock and 2 of the little flower ones from
Bubble Bath cardstock. Now it was time
for the main focal point. I took a piece
of Bubble Bath cardstock that measured 3 x 4” and laid it along with the
coordinating die in the Hybrid Embossing Folder being sure to get all three of
the flowers lined up to emboss and cut.
This folder and die are such a great idea, emboss and cut at the same
time! Once those were cut out, I used a
Blending Brush and some Bubble Bath Ink to add just a little color to each of
the flowers. I did use Wink of Stella to
add to the center of the larger two flowers.
With everything cut I simply started laying
things out to space them the way I wanted (reserve the middle size flower for the
inside of the card). Once that was all
figured out, I started to adhere things.
I began with the two branches I punched and used my bone folder to curl
them on the ends just a little before adhering the bottoms directly to the
card. Then I did the same thing with the
little Bubble Bath flowers that were punched and added them. I gave each of the leaves a little movement
using that bone folder technique before adhering them. Finally, I added my flowers using
Dimensionals.
For my sentiment I die cut the circle from
the bundle out of Bubble Bath cardstock and stamped the sentiment “Thanks for
Being So Kind” from the bundle onto it with Pretty Peacock Ink. I added that at the right bottom. For the final embellishments I added three of
the Adhesive-Backed Pearl Trio embellishments and a bow created from the Lost
Lagoon Soft Cording (this was attached with a Mini Glue Dot.
For the inside of the card, I used the
second largest flower and adhered it to a piece of Basic White cardstock that
measured 4 x 5 ¼”.
I hope you enjoy this card I certainly
enjoyed making it. As always you can
find the supplies to create this card and more on my website at https://www.stampinup.com?demoid=2206796 or by clicking the
shopping button at the top of this blog or the link to the supplies listed
below. Be sure to follow me at:
Facebook
at: https://www.facebook.com/craftwithronnie.stampinup.net
YouTube
at: https://www.youtube.com/@ronniejohnsonstampinup
Instagram: https://www.instagram.com/craft_with_ronnie/
Happy Crafting!!!
Product List")


No comments:
Post a Comment