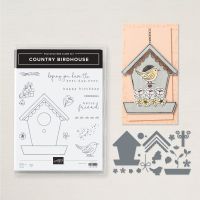
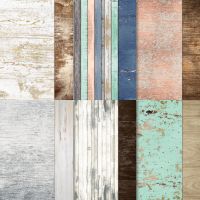
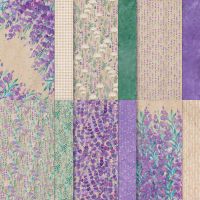
Today’s card features the new Country Birdhouse Bundle and both the Perennial Lavender and Country Woods Designer Series Paper (DSP). I fell in love with this bundle as soon as I saw it. Not only is the birdhouse a lot of fun to build from the dies the flowers are awesome as well.
Here is what I came up
with…
I am going to explain this card a little differently than I normally do. We are going to start out with cutting all the pieces so we can assemble the card easily once that is done. I will put a picture below of all the pieces.
So,
lets start with the bird house #1 on the photo, this was cut from a piece of the
Country Woods DSP which is about 3 ½ x 4 ¼”, die cut pieces #2, # 3 and #4 out
of scraps of Early Espresso cardstock, die cut pieces #5 and #6 out of Pool
Party cardstock, die cut piece #7 out of Basic White cardstock.
Now onto the flowers and leaves (we will
be cutting two of each to build up the flowers) cut out 2 each of the #8 out of
Poppy Parade cardstock, and 2 each of #9 out of Poppy Parade cardstock and
Daffodil Delight cardstock, die cut 3 each #10, and 1 each of #11, #12 and #13
out of Soft Seafoam cardstock.
Okay, now let’s stamp. Stamp “hello friend”
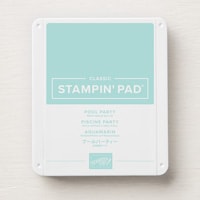
onto a scrap of Basic White cardstock using Pool Party Ink and just fussy cut
around it. Next stamp piece #7 (the scalloped
facia board for the house) using the stamp with the design shown also using
that Pool Party Ink. Now stamp the bird
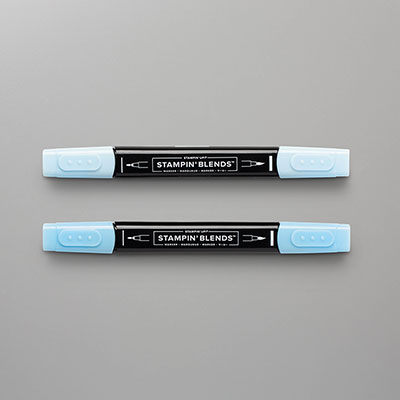
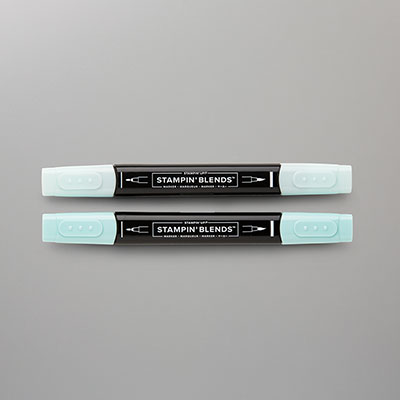
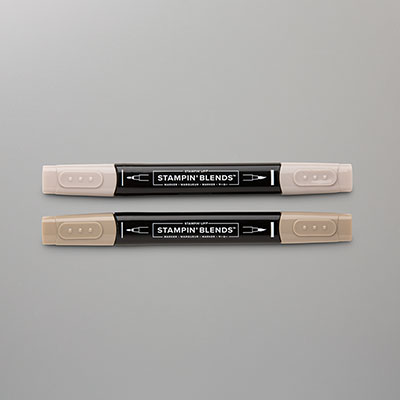
from the bundle onto a scrap of Basic White cardstock and die cut it and color
it with the blends listed below (or may it any color you prefer).
Wow, that sounds like a lot but it is really easy to do. Now let’s put it together, the card base is Pool Party cardstock cut to 5 ½ x 8 ½” and scored at 4 ¼”. I cut a piece of the Perennial Lavender DSP (I liked this kind of neutral check for the busy birdhouse) that measures 3 3/4 x 5". I attached the end of the bow I had cut just bent over onto the back at the top center (I didn’t attach it anywhere else as we will need to place our birdhouse first) and attached this layer to my card base and set it aside while I worked on the other components.
So, onto the birdhouse. Starting with piece #1 you will see you have
a hole in the center, I just added a little scrap of the Early Espresso behind
it and then I added piece #4 just below it.
Next, I added piece #2 to the bottom to cover that up (it lines right up
with the bottom). To start creating the
roofline I started by attaching piece #3 right to the top of the birdhouse,
then I added piece #7 right below that and piece #6 just below that. That finishes up the birdhouse so we can now
center it onto our card with the bow right at the top of it and adhere it.
I started by stacking my flowers onto each
other being sure to stager the seams (I did use my bonefolder to gently shape
the petals. I decided where I wanted my
bird and attached it with Dimensionals.
Then I tucked the leaves up under it, 1 each #10, #12 and #13 (I shaped
these a little with the bone folder as well) and adhered them. I added the smaller of the Poppy Parade
flowers there. Then over to the right
side I decided where I wanted my large flower and adhered it. I tucked 2 each of the #10 and 1 each #11
leaves up under it. I added my smaller
Daffodil Delight flower just to the right of that. I added my sentiment using Dimensionals and
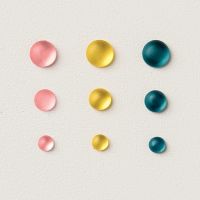
to finish the card off I added three of the little Loose Frosted Dots to the
center of each flower.
This card was a little work but once I
figured out all the pieces and how they worked together I was thrilled. I can’t wait to make a ton more of these
cards (I see some Christmas Birdhouses in my future as well).
I hope you enjoy this card I certainly
enjoyed making it. As always you can
find the supplies to create this card and more on my website at https://www.stampinup.com?demoid=2206796 or by clicking the
shopping button at the top of this blog or the link to the supplies listed
below. Be sure to follow me at:
Facebook
at: https://www.facebook.com/craftwithronnie.stampinup.net
YouTube
at: https://www.youtube.com/@ronniejohnsonstampinup
Instagram: https://www.instagram.com/craft_with_ronnie/
Happy Crafting!!!
Product List
.jpg)




.jpg)


No comments:
Post a Comment