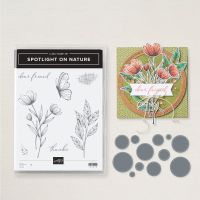
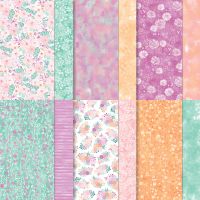
Today’s card features the Spotlight on Nature Bundle (I love these circle dies) and the Unbounded Love 12 x 12” Designer Series Paper (DSP). I wanted this to be a simple thank you card and I really like how it worked out.
Here is what I came up
with…
The card base is Pool Party cardstock cut
to 5 ½ x 8 ½” and scored at 4 ¼”. I then
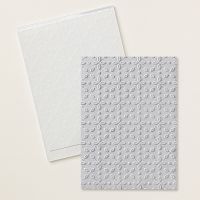
cut a piece of Basic White cardstock to 4 x 5 ¼” and embossed it using the Eyelet
3D Embossing Folder (remember there are lots of beautiful embossing folders out
there use the one that makes you happy) and layered that onto my card
base. Then I cut a piece of Petunia Pop
cardstock to 2 x 5 ¼” and a piece of the Unbounded Love DSP (again, there are
lots of DSP’s out there use what you have) to 1 ¾ x 5” and adhered it to the
Petunia Pop cardstock. I popped this layer
up on the left front of my card about ¼” from the edge of my embossed
layer. Then I used the largest of the
circle dies from the bundle and die cut it out of a piece of Basic White
cardstock that measured 4 ¼ x 4 ¼”.
With that cut I started my stamping. I stamped two of the leaf branches in Summer
Splash Ink onto the lower part of my circle and one of the butterflies (both
are from the bundle) toward the top using Petunia Pop Ink. While that Petunia Pop Ink was still a little
damp, I brushed all over my butterfly with Wink of Stella (while it is impossible
to catch the glimmer on a camera, I can assure you this butterfly glimmers in
real life). I attached that to the front
of my card with adhesive on the left and a couple Dimensionals where the right
hung over the DSP layer. I then grabbed
a scrap of Basic White cardstock and stamped the sentiment “thanks” from the
bundle onto it using Summer Splash Ink.
I die cut the sentiment using the Stylish Shapes Dies (I use these all
the time but remember you can just cut a rectangle if you don’t have this die
or use a die you do have). I added some
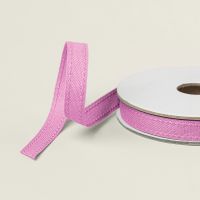
Petunia Pop Bordered Ribbon under the sentiment and adhered it to my card. For the final touch I added three of the Tinsel
Gems.
I simply stamped that same leaf image onto
a piece of Basic White cardstock that measured 4 x 5 ¼” for the inside and
stamped it again on the envelope both times with Summer Splash Ink. There you have it, a quick and simple thank
you card.
I hope you enjoy this card I certainly
enjoyed making it. As always you can
find the supplies to create this card and more on my website at https://www.stampinup.com?demoid=2206796 or by clicking the
shopping button at the top of this blog or the link to the supplies listed
below. Be sure to follow me at:
Facebook
at: https://www.facebook.com/craftwithronnie.stampinup.net
YouTube
at: https://www.youtube.com/@ronniejohnsonstampinup
Instagram: https://www.instagram.com/craft_with_ronnie/
Happy Crafting!!!
Product List





.jpg)


No comments:
Post a Comment