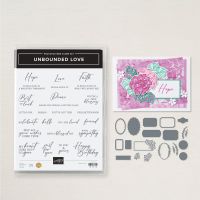
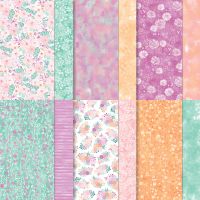
Today’s card features the Unbounded Beauty Designer Series Paper and the Unbounded Love Bundle. I got the instructions for this card from The Chirpy Cardmaker of Quilts – and more, she does amazing quilt block cards and I asked her if I could recreate this one to teach in a class and she graciously said yes. I loved this paper when I saw it but I loved it even more when it was used to make a card. The best part of these quilt cards is how little DSP it takes to make a dramatic look. Here’s how it turned out.

The card base is Berry Burst cardstock cut
to 5 ½ x 8 ½” and scored at 4 ¼”. I
added a piece of DSP from the Unbounded Beauty DSP pack that measured 3 ½” x 4”
(the floral print) and a piece that measured 1 ¾ x 4” (the strip). You will need to prep your “quilt block pieces”,
select 4 different pieces of DSP from the package for this and cut the
following:
Color #1 – 1 each ¾
x ¾” squares
Color #2 – 1 each ¾”
square and 1 each 3/8 x 1 1/8” strip
Color #3 – 1 each ¾”
square and 1 each 3/8 x 1 1/8” strip
Color #4 – 2 each ¾”
x ¾” square
With that preparation done you can start the base for your block. Cut one piece of Basic White cardstock to 3 x 3”. Using a ruler draw a line on all 4 sides ¾” from the edge (see below).
Begin building the block by cutting each
of your ¾” squares from corner to corner as shown below.
Start with your strips (colors 2 and 3) as shown here adhere and add your ¾” square (color 1) to the center and adhere as shown below.
Find the cut squares (colors 2 and 3) that
match your two strip colors and add as shown below.
Next, add the four cut pieces from color 4
as shown below.
Don’t worry if things are a little off you
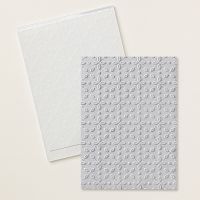
will not even notice it once you finish your card. Now take that piece and using the Eyelet 3D
Embossing Folder emboss it. Attach the
quilt square to a piece of Berry Burst cardstock that measures 3 ¼ x 3 ¼”.
To finish off the card stamp HAVE A
blessed DAY from the Unbounded Love Bundle in Summer Splash Ink and die cut it with the coordinating
die shown in the photo. Add the
sentiment label to the bottom right of the card using Dimensionals and then add
your quilt square to the center using Dimensionals.
Inside:
Cut stripped DSP to ½ x 4” and attach to a
piece of Basic White cardstock that measures 4 x 5 ¼”.
I hope you enjoy making this card as much
as I did. As always you can find the
supplies to create this card and more on my website at https://www.stampinup.com?demoid=2206796 or by clicking the
shopping button at the top of this blog or the link to the supplies listed
below. Be sure to follow me at:
Facebook
at: https://www.facebook.com/craftwithronnie.stampinup.net
YouTube
at: https://www.youtube.com/@ronniejohnsonstampinup
Instagram: https://www.instagram.com/craft_with_ronnie/
Happy Crafting!!!
Product List





.jpg)


No comments:
Post a Comment