Featured Post

Season of Green & Gold Project Sheet

Hello there fellow crafters, I found so much inspiration for these products from all over the crafting community so I wanted to see what I c...

Monday, September 30, 2024

THINKING OF YOU WITH WINTERY TREE TOPS

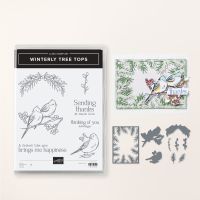
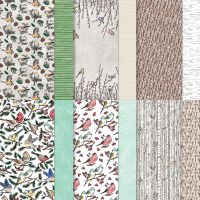
Today’s card features the Wintery Tree Tops Bundle and the Nests of Winter Designer Series Paper from the September – December Mini Catalog.  I fell in love with all the products included in this Nests of Winter Suite Collection and for today’s card I used every item in the collection with the exception of the Birch Wood 3D Embossing Folder but not to worry I will be showing a lot more created with all the products because I just can’t get enough of them. 

Here is what I came up with…

The card base is Smoky Slate cardstock cut to 5 ½ x 6 ½” and scored at 4 ¼”.  I then cut a piece of Copper Clay cardstock to 2 1/8 x 5 3/8” and added it to my 2 ¼” front flap.  To that I added a piece of the Nests of Winter 12 x 12” Designer Series Paper cut to 2 x 5 ¼” (I love that this card uses so little DSP just think of how many of these cards you could make using just one sheet of the DSP, well that would be 12 cards my friends). 

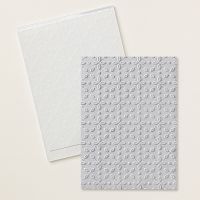
Next, I created the fold over flap by cutting a piece of Smoky Slate cardstock to 3 1/3 x 3 ½” and scoring it at 2 ¾” on the 3 ¼” side.  Once that was done, I cut a piece of Basic White cardstock to 4 x 5 ¼” and attached that small scored side of the flap to the right side center back and then attached the white to the inside of the card.  I added a piece of Basic White cardstock that was cut to 2 ½ x 3 ¼” and embossed it with the Snowflake 3D Embossing Folder before attaching it to my flap.

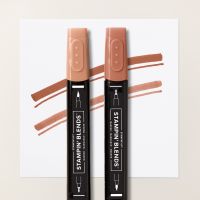
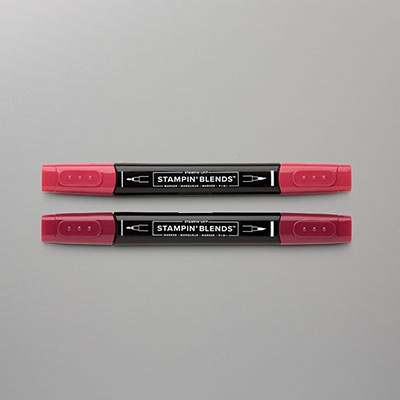
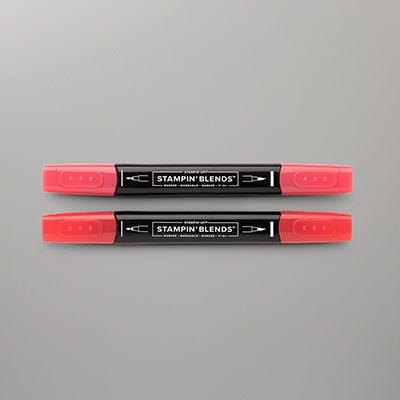
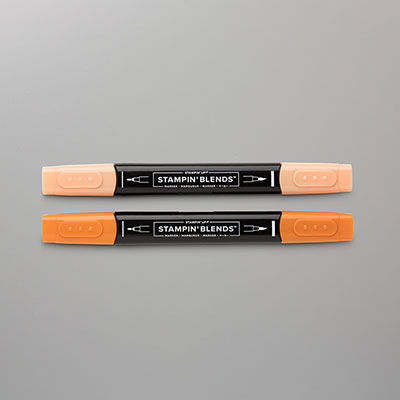
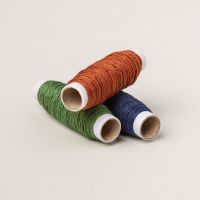
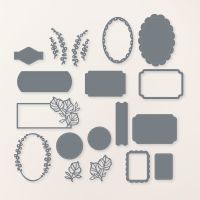
To decorate the card, I stamped one of the birds from the bundle and two of the little branches shown on the card onto scraps of Basic White cardstock using Tuxedo Black Memento Ink and die cut them using the coordinating dies from the bundle.  I colored them using the Stampin’ Blends Markers listed below.  I attached the little branches directly onto the flap and then raised up the bird and attached it to the flap using Dimensionals.  I stamped the sentiment “thinking of you always” onto a scrap of Basic White cardstock with Copper Clay Ink and die cut it out using one of the dies from the Unbounded Love Dies (any die would work or you could fussy cut the sentiment or just stamp it onto a rectangle piece of cardstock).  To add some interest, I used the same die and cut a scrap of Copper Clay cardstock and then cut it in half and added it sticking out of the back of each side of the sentiment label.  I added this with Dimensionals being sure to only adhere it on the flap itself and not where it over hangs.  To finish off the card I added three of the coordinating Earth Tones Shimmer Gems and a bow created out of the Natural Tones Linen Thread, both of which are coordinating products.

I hope you enjoy this card I certainly enjoyed making it.  As always you can find the supplies to create this card and more on my website at https://www.stampinup.com?demoid=2206796 or by clicking the shopping button at the top of this blog or the link to the supplies listed below.  Be sure to follow me at: 

Facebook at:  https://www.facebook.com/craftwithronnie.stampinup.net

YouTube at: https://www.youtube.com/@ronniejohnsonstampinup

Instagram: https://www.instagram.com/craft_with_ronnie/

Happy Crafting!!!


Product List

Friday, September 27, 2024

GOLDEN GREENERY DRAWER CARD BOX

Today I am sharing a project that was created using the Seasons of Green & Gold Collection.  I just love this whole collection and this project was inspired by a Holloween card box that I saw Rachel Tessman create.  I thought I could fill these with some candy and give them to the caregivers who take such good care of my mother-in-law in the facility where she lives.  Here is what I came up with…


I began by creating the base and the drawer.  I cut a piece of Old Olive cardstock to 2 7/8 x 11” and scored it at ¾, 3 - 5/8, 4 - 3/8, 7 ¼ and 8 - 1/16”, this created my box base.   Then I cut another piece of Old Olive cardstock to 4 ¼ x 4 ¼” and scored it on all four sides at ¾”, this created my drawer.  To create the box base, I reinforced all my score lines and then added adhesive to the score line that measured ¾” and attached it by gluing tab A onto tab B to create a box (see below)

When it is attached it will open like a card (see below)


To create the drawer, I cut a piece of Old Olive cardstock to 4 ¼ x 4 ¼” and scored it at ¾” on all four sides and cut as shown below.  Reinforce all the score lines and attach the tabs as shown below. 


Now all I had to do was decorate my box.  I added a little metallic embellishment to the drawer to look like a pull (this one is a retired one but there are tons out there you can use (remember make it right for your box) and inserted the drawer into the box. 

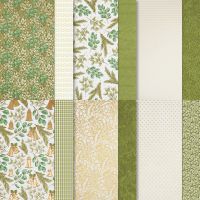
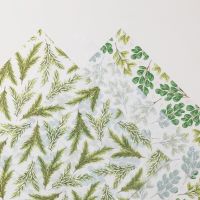
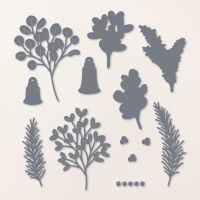
Before I added a piece of the Seasons of Green & Gold Designer Series Paper that measured 2 ¾ x 2 5/8” to the top cover of my base I attached a little loop of the gold ribbon from the Gold and Silver 1/8” Trim Combo Pack to the right center of the DSP panel (see the photos at the top).  Then I die cut two of the pieces of the Graceful Greenery Vellum DSP using the coordinating dies from the Golden Greenery Dies.  I attached the pine bow directly onto the box and added the other foliage piece with some Mini Dimensionals.  To finish this off I added a gold bow that I created with some ribbon from my stash with a Mini Glue Dot.   

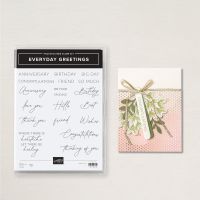
For the inside I cut a piece of Very Vanilla cardstock that measured 2 ¾ x 2 ¾” that I stamped with the sentiment “thank you” from the Everyday Greetings stamp set using Old Olive Ink. 

I hope you enjoy this project as much as I enjoyed making it.  As always you can find the supplies to create this card and more on my website at https://www.stampinup.com?demoid=2206796 or by clicking the shopping button at the top of this blog or the link to the supplies listed below.  Be sure to follow me at: 

Facebook at:  https://www.facebook.com/craftwithronnie.stampinup.net

YouTube at: https://www.youtube.com/@ronniejohnsonstampinup

Instagram: https://www.instagram.com/craft_with_ronnie/


Happy Crafting!!!

Product List
Wednesday, September 25, 2024

BIRDS OF A FEATHER

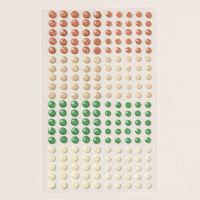
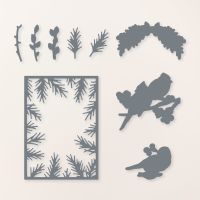
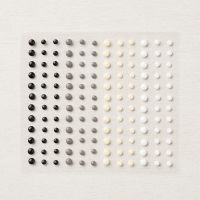
Today’s card features the Nests of Winter Designer Series Paper.  What makes this paper pack special?  Well that would be the fact that two of the sheets have beautiful birds (a single and a pair) that coordinate beautifully with the Wintery Tree Top Dies.  I love it when I can make a quick card with little or no stamping or coloring because the DSP has that done for me.  I did also find these cute embellishments called Classic Mat Dots that coordinate great with the DSP and they are currently in the clearance rack for just $2.80 a pack so that was really nice. 

Here is what I came up with…

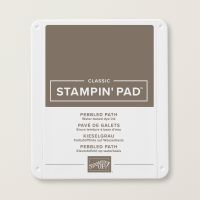
The card base is Basic Gray cardstock cut to 4 ¼ x 11” and scored at 5 ½”.  I cut a layer out of the Nests of Winter Designer Series Paper that measured 4 x 5 ¼” (don’t you love that wood grain) and added it to my base.  Next, I stamped my sentiment from the Everyday Greetings Stamp Set (this set has some great basic sentiments that can be used all the time), I choose “Hello” and stamped it onto a scrap of Basic White cardstock with Pebbled Path Ink.  I die cut that out using one of the dies from the Stylish Shapes Dies (I use these all the time) added Dimensionals and centered it on the bottom of my card.  Then I die cut circles from that same die set, the largest in the set pit of Smoky Slate cardstock and the second largest out of Basic White cardstock.  I adhered them together and centered them on the top portion of my card.

For my final touches I die cut the pair of birds out of the Designer Series Paper using the Wintery Tree Tops dies that coordinate with the paper (so easy, no stamping or coloring) and added it to the center of my circles using both some Dimensionals and some Mini Dimensionals to pop up all the areas.  Then I added three of the gray dots from the Classic Mat Dots (which as I said before are on clearance for just $2.80 a pack).  I like the simplicity of this card and I do believe it would make a great masculine card.

I hope you enjoy this card I certainly enjoyed making it.  As always you can find the supplies to create this card and more on my website at https://www.stampinup.com?demoid=2206796 or by clicking the shopping button at the top of this blog or the link to the supplies listed below.  Be sure to follow me at: 

Facebook at:  https://www.facebook.com/craftwithronnie.stampinup.net

YouTube at: https://www.youtube.com/@ronniejohnsonstampinup

Instagram: https://www.instagram.com/craft_with_ronnie/


Happy Crafting!!!


Product List
Monday, September 23, 2024

INTERLOCKING SQUARE BLOCK

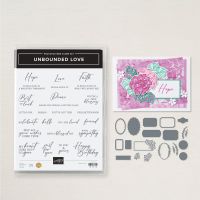
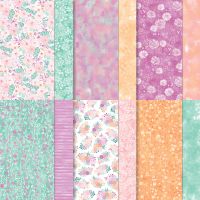
Today’s card features the Unbounded Beauty Designer Series Paper and the Unbounded Love Bundle.  I got the instructions for this card from The Chirpy Cardmaker of Quilts – and more, she does amazing quilt block cards and I asked her if I could recreate this one to teach in a class and she graciously said yes.  I loved this paper when I saw it but I loved it even more when it was used to make a card.  The best part of these quilt cards is how little DSP it takes to make a dramatic look.  Here’s how it turned out.


The card base is Berry Burst cardstock cut to 5 ½ x 8 ½” and scored at 4 ¼”.  I added a piece of DSP from the Unbounded Beauty DSP pack that measured 3 ½” x 4” (the floral print) and a piece that measured 1 ¾ x 4” (the strip).  You will need to prep your “quilt block pieces”, select 4 different pieces of DSP from the package for this and cut the following:

Color #1 – 1 each ¾ x ¾” squares

Color #2 – 1 each ¾” square and 1 each 3/8 x 1 1/8” strip

Color #3 – 1 each ¾” square and 1 each 3/8 x 1 1/8” strip

Color #4 – 2 each ¾” x ¾” square

With that preparation done you can start the base for your block.  Cut one piece of  Basic White cardstock to 3 x 3”.  Using a ruler draw a line on all 4 sides ¾” from the edge (see below). 


Begin building the block by cutting each of your ¾” squares from corner to corner as shown below.

Start with your strips (colors 2 and 3) as shown here adhere and add your ¾” square (color 1) to the center and adhere as shown below.

Find the cut squares (colors 2 and 3) that match your two strip colors and add as shown below.

Next, add the four cut pieces from color 4 as shown below.

Don’t worry if things are a little off you will not even notice it once you finish your card.  Now take that piece and using the Eyelet 3D Embossing Folder emboss it.  Attach the quilt square to a piece of Berry Burst cardstock that measures 3 ¼ x 3 ¼”. 

To finish off the card stamp HAVE A blessed DAY from the Unbounded Love Bundle in Summer Splash Ink and die cut it with the coordinating die shown in the photo.  Add the sentiment label to the bottom right of the card using Dimensionals and then add your quilt square to the center using Dimensionals.

Inside:

Cut stripped DSP to ½ x 4” and attach to a piece of Basic White cardstock that measures 4 x 5 ¼”.

I hope you enjoy making this card as much as I did.  As always you can find the supplies to create this card and more on my website at https://www.stampinup.com?demoid=2206796 or by clicking the shopping button at the top of this blog or the link to the supplies listed below.  Be sure to follow me at: 

Facebook at:  https://www.facebook.com/craftwithronnie.stampinup.net

YouTube at: https://www.youtube.com/@ronniejohnsonstampinup

Instagram: https://www.instagram.com/craft_with_ronnie/

Happy Crafting!!!


Product List