Featured Post

FUN WITH TEMPLATES

Today’s card features the Fern & Flora Bundle and the Moonlit Flora Designer Series Paper.  I fell in love with this suite the first tim...

Friday, March 14, 2025

MIXED FLORALS FUN FOLD

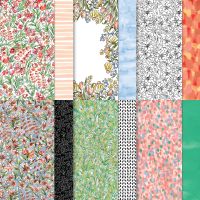
Today’s card features the Mixed Florals Bundle from the Online Exclusive products.  I have fallen in love with this whole collection as it is great to create with.  I wanted to use two different papers from the Designer Series Paper on my project (which was inspired by a TikTok video posted by Dani Gurrola) to show off as much of it as I could on one card. 

Here is what I came up with…

The card base is Boho Blue cardstock cut to 5 ½ x 8 ½” and scored at 2 1/8 and 4 ¼”.  I folded the 2 1/8” score line back onto the card and used my bone folder to really burnish it well.  I added a piece of the petal pink and white striped Designer Series Paper cut to 1 7/8 x 5 ¼” to that area.  Then I opened up the card and added a piece of the Designer Series Paper that measured 4 x 5 ¼” to the inside right.  To finish the inside of the card I also added a piece of Basic White cardstock that measured 1 7/8 x 5 ¼” where you can write your message. 

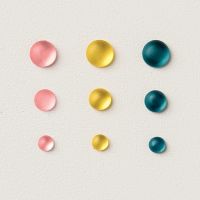
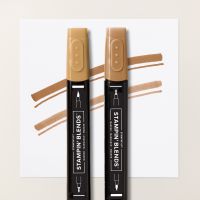
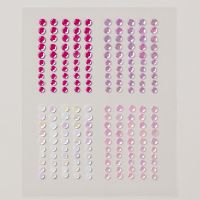
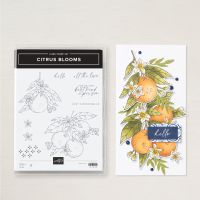
With that all done it was time to decorate.  I die cut a circle from a piece of Boho Blue cardstock that measured 3 ¼” square using the largest of the circles from the Stylish Shapes Dies.  Then I grabbed a piece of Basic White cardstock that measured about 2 ¾ x 2 ¾” and stamped one of the flowers from the Mixed Floral stamps onto it using Tuxedo Black Memento Ink (be sure to keep it low enough to add your sentiment” and I used the second largest of the circles from the Stylish Shapes Dies to cut it out.  I added the sentiment “hello” which is from the Citrus Blooms Stamp Set again using Memento Ink.  I also took a piece of Basic White cardstock that measured 1 ½ x 3 ¼” and stamped the leaves from the stamp set in Memento Ink.  I used the Stampin’ Blends listed in the product list below to color in my flower and leaves.  Once everything was colored, I simply adhered the pieces to the card.  I did add a brush of Wink of Stella just to the pink coneflower.  I added three pink gems from the Loose Frosted Dots to the front of the card. 

I hope you enjoy this card I certainly enjoyed making it.  As always you can find the supplies to create this card and more on my website at https://www.stampinup.com?demoid=2206796 or by clicking the shopping button at the top of this blog or the link to the supplies listed below.  Be sure to follow me at: 

Facebook at:  https://www.facebook.com/craftwithronnie.stampinup.net

YouTube at: https://www.youtube.com/@ronniejohnsonstampinup

Instagram: https://www.instagram.com/craft_with_ronnie/


Happy Crafting!!! 

Product List
Wednesday, March 12, 2025

THE STORM

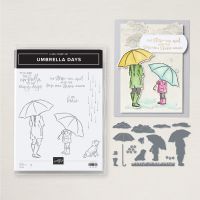
Today’s card features the Umbrella Days Bundle and Winter Meadow Designer Series paper.   The sentiment “The storm will end and the sun will shine again” caught my attention and I knew I wanted to create with it.  Here is what I came up with…

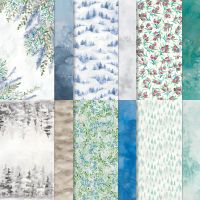
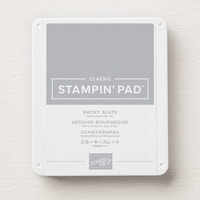
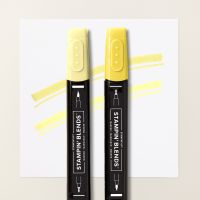
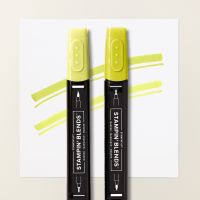
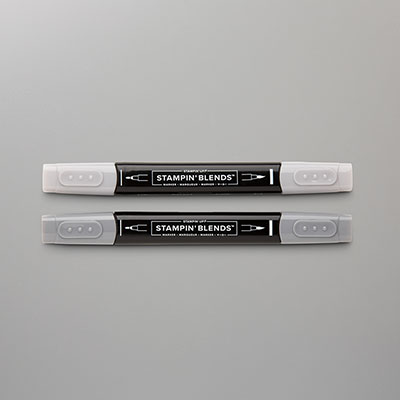
The card base is Lemon Lime Twist cardstock cut to 4 ¼ x 11” and scored at 5 ½”.  I cut a piece of the Winter Meadow Designer Series Paper (I thought this gray one was perfect for a storm) to 4 x 5 ¼”.  I stamped my sentiment in the lower right corner using Tuxedo Black Memento Ink and then using Smokey Slate Ink I added the rain.  Once the stamping was done, I attached it to my card base.  Next, I stamped the larger of the two girls with umbrellas from the set onto a scrap of Basic White cardstock again using that Memento Ink.  I colored the image in using the Stampin’ Blends listed in the product list below.  Once it was all colored in, I die cut the image using the coordinating die from the bundle.  I also used one of the cloud dies to create what looks like a puddle.  I cut it out of a scrap of Basic White cardstock and then inked it using a Dauber and Smoky Slate Ink.  I decided where I was going to place my image of the girl and then adhered the puddle to the Designer Series Paper and then I popped the image of the girl up on the card with Dimensionals, having her standing at the edge of the puddle. 

For the inside of the card, I cut a piece of Basic White cardstock to 4 x 5 ¼” and stamped the little dog from the set with the Memento down the lower corner.  Then I die cut him a cute little coat (using one of the dies in the bundle) out of a scrap of the Lemon Lime Twist cardstock and adhered it. 

I hope you enjoy this card I certainly enjoyed making it.  As always you can find the supplies to create this card and more on my website at https://www.stampinup.com?demoid=2206796 or by clicking the shopping button at the top of this blog or the link to the supplies listed below.  Be sure to follow me at: 

Facebook at:  https://www.facebook.com/craftwithronnie.stampinup.net

YouTube at: https://www.youtube.com/@ronniejohnsonstampinup

Instagram: https://www.instagram.com/craft_with_ronnie/


Happy Crafting!!! 

Product List

Wednesday, February 26, 2025

DEAR FRIEND

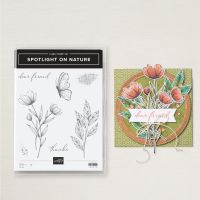
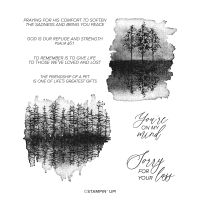
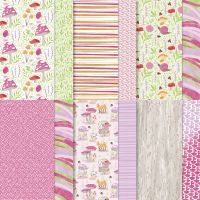
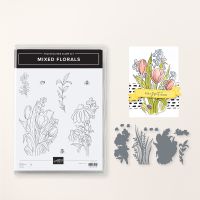
Today’s card features one of the new Online Exclusive products, the Mixed Florals Bundle.  I paired the bundle with the Spotlight on Nature and Quiet Reflections stamps along with some of the free paper from the Toadstool Gardens 6 x 6” Designer Series Paper that I earned during Sale-A-Bration.  I wanted to play around with watercoloring using this set and it turned out just the way I hoped it would.
Here is what I came up with…

The card base is Highland Heather cardstock cut to 4 ¼ x 11” and scored at 5 ½”.  I added a Basic White layer that measures 4 1/8 x 5 3/8” and a layer of the Toadstool Gardens Designer Series Paper that measures 4 x 5 ¼”.  I used the die from the bundle and cut out the greenery from Granny Apple Green cardstock.  Once I had it die cut, I cut that in half so I could have more of it sticking out around my floral bouquet.  I took a piece of Fluid 100 Watercolor Paper that measured 3 ½ x 5” and using VersaMark Ink I stamped the flowers from the bundle onto it.  Once that was done, I added the gold powder from the Metallics WOW! Embossing Powder and heat set it with my heat tool. 

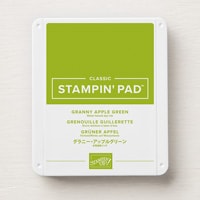
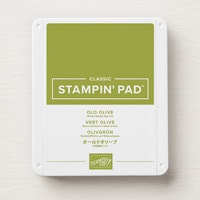
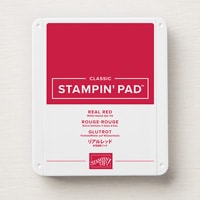
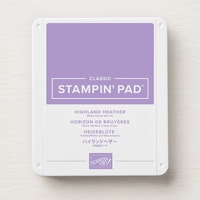
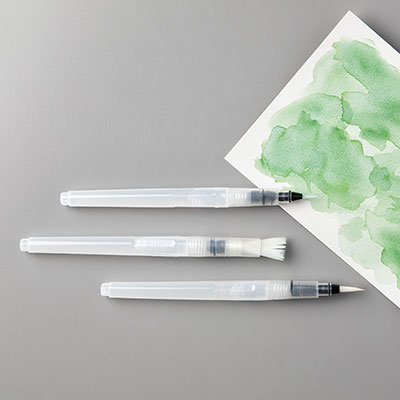
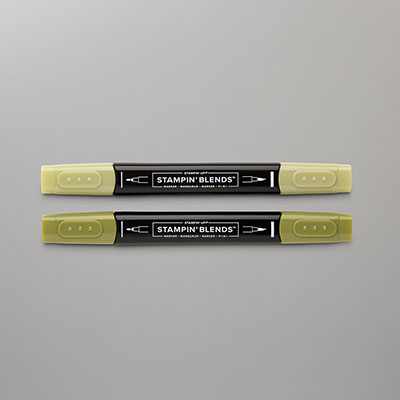
I went ahead and used the coordinating die from the bundle to cut the flowers out (I like to do this before I color in case, I mess up the cutting because it stinks to spend a bunch of time coloring and then have it cut wrong).  To color my flowers I used Granny Apple Green, Old Olive, Highland Heather and Real Red Ink.  I simply squeezed my ink pad and got some of the ink into the top of the container.  Then I used the Water Painters and painted my flowers and foliage.  One of the keys is to think about where the light would shine and where the shadows would fall.  Use more ink in the shadow areas for more intense color.  When that was all done and dry I added it to my card with Dimensionals.

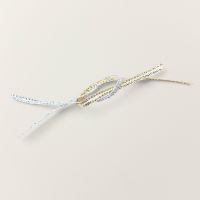
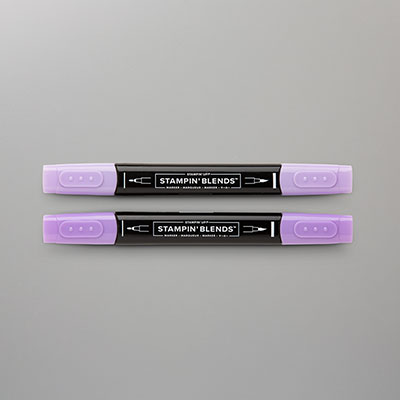
I cut a piece of Basic White cardstock to ¾ x 3” and stamped the sentiment “dear friend” onto it with Highland Heather Ink.  I cut the right end at an angle and added it to my card.  For my final additions I added three of the Purple Adhesive-Backed Sequins (another free product I earned during Sale-A-Bration) and made a double bow out of about 10” of the Gold 1/8” Trim, I added it to the card with a Mini Glue Dot.

For the inside of the card, I cut a piece of Basic White cardstock to 4 x 5 ¼” and took the piece of Designer Series Paper that was cut off the bottom of my front layer (it measures ¾ x 4”) and added it to the bottom of the layer.  I added the sentiment "You're on my mind" from the Quiet Reflections Stamp Set stamping it in Highland Heather Ink.

I hope you enjoy this card I certainly enjoyed making it.  As always you can find the supplies to create this card and more on my website at https://www.stampinup.com?demoid=2206796 or by clicking the shopping button at the top of this blog or the link to the supplies listed below.  Be sure to follow me at: 

Facebook at:  https://www.facebook.com/craftwithronnie.stampinup.net

YouTube at: https://www.youtube.com/@ronniejohnsonstampinup

Instagram: https://www.instagram.com/craft_with_ronnie/


Happy Crafting!!! 

Product List