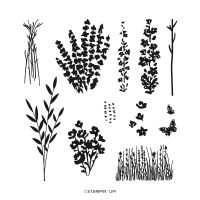
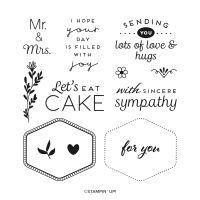
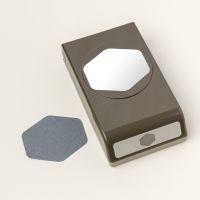
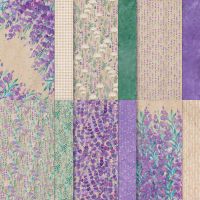
Today’s card features the Perennial Lavender Designer Series Paper and the coordinating Painted Lavender stamp set along with the Heartfelt Hexagon stamp set and it’s coordinating Punch. I love this paper, it is just so pretty and it makes me happy every time I work with it. I was inspired to make this card by one I saw that was made by Collen Magness.
Here is what I came up
with…
The card base is Gorgeous Grape cardstock
cut to 6 ¾ x 5 ½”, scored at 4 ¼”. I
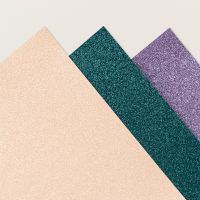
added a piece of the Three-Color Glimmer (I used the purple) that measured 2 ¼ x
5 ¼” to the left side of the card base.
I then cut a piece of the Perennial Lavender DSP to 2 x 5” and added
that on top of the glimmer paper. Now it
was time to create my little flag that folds over the card front. I cut a piece of Gorgeous Grape cardstock to
1 x 4 ¼” and scored it at ½”. I then cut
another piece of the Glimmer paper this time to ¾ x 4 ¼”, scored at ½”. (Note: I did emboss my gorgeous grape piece
with one of the Basics 3D Embossing Folders, these are now retired. You can use another Embossing Folder or
simply not emboss the piece, your choice).
I attached the two pieces together, cut a flag on the left end, and then
attached the ½” scored piece to the center of the right side of my card (Note:
I did figure out where my white inside layer would lay and made sure my fold
was completely under that before adhering it down).
To finish off the card I stamped the sentiment
“SENDING YOU lots of love & hugs” from the Heartfelt Hexagon stamp set onto
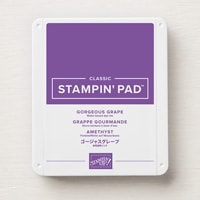
a scrape of basic white cardstock using Gorgeous Grape Ink. I punched this piece out using the Heartfelt
Hexagon Punch and added it to the center of my little flag. I stamped some of the Painted Lavender stamps
on the right side of my card using Gorgeous Grape Ink (from the right to left I
stamped the first fully inked, the second without re-inking and the third with
full ink, I did drop the stamp a little each time to make them different
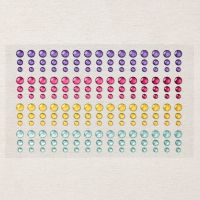
heights) onto a piece of Basic White cardstock that measured 4 x 5 ¼”. I added three of the Glossy Dots Assortment
and my card was complete.
I hope you enjoy this card I certainly
enjoyed making it. As always you can
find the supplies to create this card and more on my website at https://www.stampinup.com?demoid=2206796 or by clicking the
shopping button at the top of this blog or the link to the supplies listed
below. Be sure to follow me at:
Facebook
at: https://www.facebook.com/craftwithronnie.stampinup.net
YouTube
at: https://www.youtube.com/@ronniejohnsonstampinup
Instagram: https://www.instagram.com/craft_with_ronnie/
Happy Crafting!!!
Product List



.jpg)


No comments:
Post a Comment