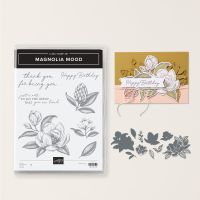
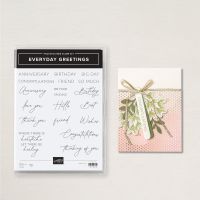
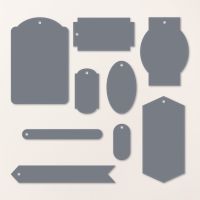
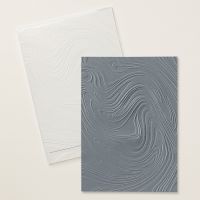
Today’s card features the Magnolia Mood Bundle and the So Swirly Embossing Folder. I also used the Everyday Greetings and the Greetings of the Seasons Dies, I love how these dies coordinate with two different sentiment stamp sets making it super versatile. Here is what I came up with…
The card base Bubble Bath cardstock cut to
4 ¼ x 11”, scored at 5 ½”. I cut a piece
of Basic White cardstock to 4 x 5 ¼” and then die cut #10 (see below) out of
the center of this piece (I saved that die cut as I add it back into the area
it was cut from later). Now I place the Basic
White layer (minus the die cut piece) into the So Swirly Embossing Folder and
embossed it. I attached this layer to my
card base and then added my die cut piece back in (NOTE: pieces such as this
die cut have lots of little areas so it can be hard to add glue, so the trick I
use is to put some of the Multipurpose Liquid Glue onto my Silicon Mat and
using a little piece of sponge or a dauber picking up the ink and just pouncing
it onto the piece until it is fully covered).
Next, I grabbed a piece of Basic White cardstock that measured 4 x 3 ½”
and I stamped my image from the stamp set in the bundle onto it using Basic
Gray Ink and die cut it using the coordinating die from the bundle. I added this to the center of my card using
Dimensionals. I stamped the sentiment “Hello”
from the Everyday Greetings Stamp Set onto a scrap of Bubble Bath cardstock
again using that Basic Gray Ink and die cut it using one of the cute labels
from the Greetings of the Season Dies.
This die has a little hole in it so it can be made into a tag and I didn’t
want that so I used the white twine from the Baker’s Twine Essentials Pack and
made a triple bow that I attached over the hole with a Glue Dot.
For the inside of the card, I cut a piece
of Basic White cardstock to 4 x 5 ¼” and stamped another of the images from the
stamp set onto it (and the envelope) again using that Basic Gray Ink.
I hope you enjoy this card I certainly
enjoyed making it. As always you can
find the supplies to create this card and more on my website at https://www.stampinup.com?demoid=2206796 or by clicking the
shopping button at the top of this blog or the link to the supplies listed
below. Be sure to follow me at:
Facebook
at: https://www.facebook.com/craftwithronnie.stampinup.net
YouTube
at: https://www.youtube.com/@ronniejohnsonstampinup
Instagram: https://www.instagram.com/craft_with_ronnie/
Happy Crafting!!!
Product List




.jpg)


No comments:
Post a Comment