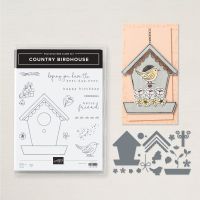
Today’s project uses the Country Birdhouse bundle to create a cute little treat holder (holds one Ferrero Rocher). I saw a post where someone had done this and I decided I could figure it out. I am thinking about making a bunch of these for Christmas (I like to treat the 10 ladies who eat meals at the table with my MIL in her assisted living facility each holiday with something for each place setting and these would be perfect).
Here is what I came up
with…
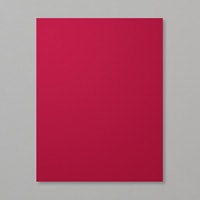
I started with a two pieces of Cherry
Cobbler cardstock that measured 3 ½ x 4” and I die cut two of the birdhouse
bases #1 (see figure #1 below) out of them.
Next, I die cut two of the #2 pieces out of Cherry Cobbler, two of the #3
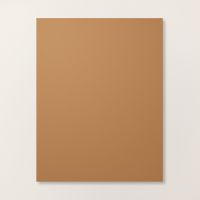
pieces out of Old Olive cardstock and two each of the #4 and #5 pieces out of
Pecan Pie. I took the #4 and #5 pieces
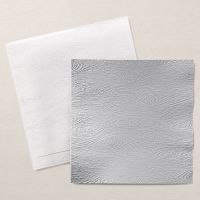
and embossed them using the Timber 3D Embossing Folder (I like the wood look it
gave me).
I started by adding the #5 pieces onto the
bottom of the cherry cobbler birdhouse bases and the #4 pieces to the top of
the birdhouse bases. Then I added the
two #3 pieces snugging them right up to the #4 pieces. With that done I added the two #2 pieces
right on the very top of the #3 pieces.
This finishes the basic birdhouse and I added nothing else to the birdhouse
base I was using for the back.
To decorate the front of the birdhouse I
die cut two each of the #19, #20, #21 and #22 pieces from Cherry Cobbler
cardstock and took the coordinating smaller ones and added them to the center
of the larger one offsetting the petals.
I also die cut 2 each of the #15 and #13 leaves from Old Olive
cardstock. I added the four flowers and
the four sets of leaves to the base on the front of my birdhouse and then just
added four little Rhinestone Basic Jewels to the center of each to finish them
off.
I wanted the hole for the birdhouse to
have a little extra character so I die cut the smallest stitched circle from
the Stylish Shapes Dies (you could simply use die #8 from the bundle) out of
Basic Black cardstock and attached it to my birdhouse. I stamped my bird from the stamp set it the
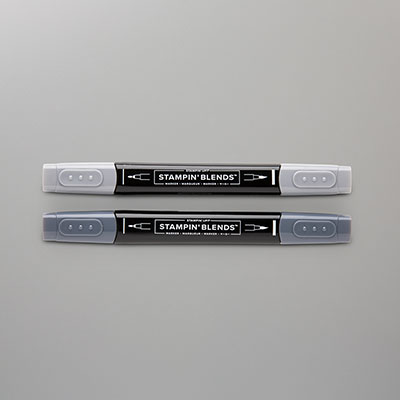
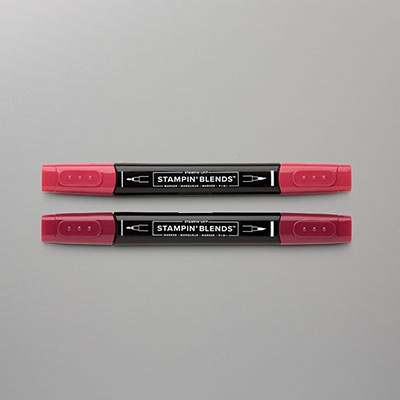
bundle onto a scrap of Basic White cardstock using Tuxedo Black Memento Ink and colored it using the Cherry
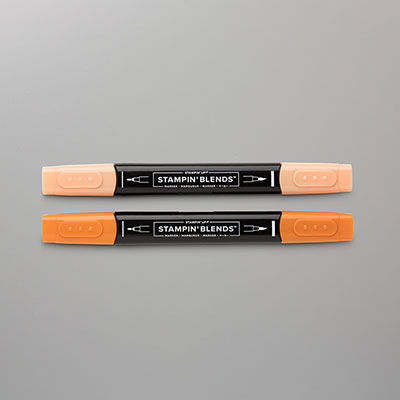
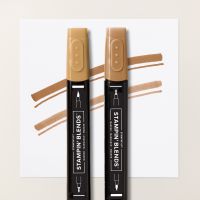
Cobbler, Pumpkin Pie and Pecan Pie Stampin’ Blends (I added the black to make
it look like a cardinal since I think they scream Christmas). I die cut it using die #9 and added this to the front of my birdhouse
using some Mini Dimensionals. For the final
addition I die cut #8 out of Pecan Pie cardstock and placed it under the bird’s
feet so it looked like he was perched on it.
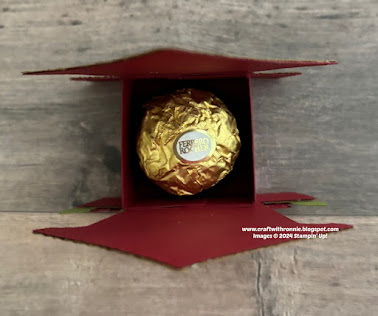
For the treat portion of the project, I cut a piece of Cherry Cobbler cardstock to 3 ½ x 3 ½” and scored it at 1” on all four sides to create the box as shown in figure #2 below, once that was done, I cut as shown in figure #3 below. Now I reinforced the score lines and folded the tabs inside to create a box. I adhered the box centered at the bottom of the back side of each side of the birdhouses I created and added a Ferrero Rocher to complete the project. (I did a little experimenting as well and found that I could punch a small hole through the top peak of each birdhouse and tie a piece of Linen Thread to it to create a Christmas Ornament.)
I hope you enjoy this card I certainly
enjoyed making it. As always you can
find the supplies to create this card and more on my website at https://www.stampinup.com?demoid=2206796 or by clicking the
shopping button at the top of this blog or the link to the supplies listed
below. Be sure to follow me at:
Facebook
at: https://www.facebook.com/craftwithronnie.stampinup.net
YouTube
at: https://www.youtube.com/@ronniejohnsonstampinup
Instagram: https://www.instagram.com/craft_with_ronnie/
Happy Crafting!!!









.jpg)


No comments:
Post a Comment