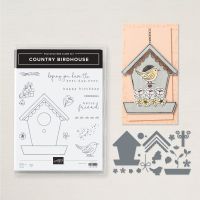
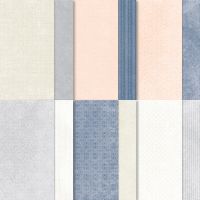
Today’s card features the Country Birdhouse Bundle and Country Lace 12 x 12” Designer Series paper. I loved the simplicity of this beautiful DSP and wanted to use it to create something a little different. I saw a card made by Creativetreehouse that used this paper with the Country Birdhouse Bundle and I knew it was perfect.
Here is what I came up
with…
The card base is Smokey Slate cardstock cut
to 5 ½ x 8 ½” and scored at 4 ¼”. I cut
a layer of Pretty Pink that measured 4 x 5 ¼” and to that I added a layer of the
DSP that measured 3 7/8 x 5 1/8” (set this aside without attaching to the
card base). With that base all
prepared I went to work on building my birdhouse. I cut the body of the house out using Die #1
(see below) from a piece of the DSP that measure 4 x 3 ½” (be sure to be aware
of directional paper so you cut it going in the direction you want). Then I die cut pieces #4 and #5 out of scraps
of Night of Navy cardstock. I then took
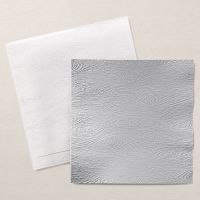
those two pieces and embossed them with the Timber 3D Embossing Folder (I loved
that look of woodgrain on them). I die
cut Pieces #2 and #7 out of Pretty In Pink cardstock and piece #3 out of Pool
Party cardstock. I stamped piece #3 with
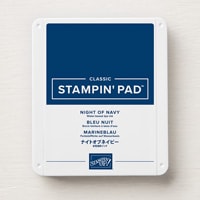
one of the coordinating stamps from the bundle using Night of Navy Ink (it
gives this part of the roof a little decorative design). Next, I die cut 2 each of #19 and #22 and 2
each of #20 and #21 out of scraps of Pretty In Pink cardstock and 2 each of #15
and 2 each of #12 out of scraps of Granny Apple Green cardstock. I put my flowers together using the smaller
ones as centers and offsetting the petals.
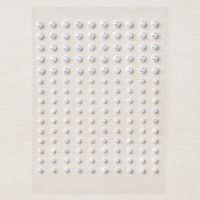
I added Iridescent Pearls Basic Jewels to the center of each one.
Now it is time to build the birdhouse. Attach piece #4 to the top of the birdhouse base, next add piece #3 directly below that (the pieces should line right up), and finally add piece #2 right over the top of piece #3. That’s it the house is built! I put Dimensionals on the back of the birdhouse and centered that on my layer of Pretty In Pink and the DSP towards the top of the card (about 3/8” from the top) and attached it. I added piece #7 and wrapped the excess across the top of the layer and adhered it. Now I could go ahead and finish building the rest of the card. I attached my flowers and leaves as shown in the photo (NOTE: one flower and one leaf were reserved for the inside of the card). I stamped the sentiment “happy birthday” onto a piece of Basic White cardstock that measured 3/8 x 2 ½” using Night of Navy Ink and attached that to a piece of Night of Navy cardstock that measured ½ x 2 5/8” and then using Dimensionals popped that up on the center bottom of the card. For the inside of the card I cut a piece of Basic White cardstock to 4 x 5 ¼” and attached the reserved flower and leaf.
I hope you enjoy this card I certainly
enjoyed making it. As always you can
find the supplies to create this card and more on my website at https://www.stampinup.com?demoid=2206796 or by clicking the
shopping button at the top of this blog or the link to the supplies listed
below. Be sure to follow me at:
Facebook
at: https://www.facebook.com/craftwithronnie.stampinup.net
YouTube
at: https://www.youtube.com/@ronniejohnsonstampinup
Instagram: https://www.instagram.com/craft_with_ronnie/
Happy Crafting!!!
Product List



.jpg)


No comments:
Post a Comment