Featured Post

Season of Green & Gold Project Sheet

Hello there fellow crafters, I found so much inspiration for these products from all over the crafting community so I wanted to see what I c...

Monday, August 26, 2024

COUNTRY BIRDHOUSE TREAT HOLDER

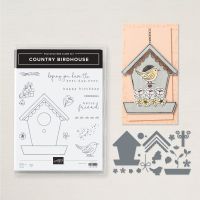
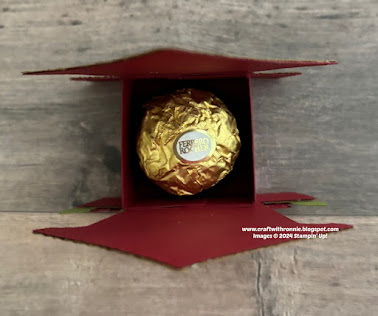
Today’s project uses the Country Birdhouse bundle to create a cute little treat holder (holds one Ferrero Rocher).  I saw a post where someone had done this and I decided I could figure it out.  I am thinking about making a bunch of these for Christmas (I like to treat the 10 ladies who eat meals at the table with my MIL in her assisted living facility each holiday with something for each place setting and these would be perfect).   

Here is what I came up with…

From the front

From the top

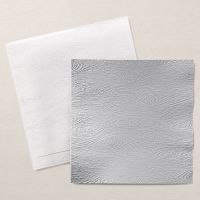
I started with a two pieces of Cherry Cobbler cardstock that measured 3 ½ x 4” and I die cut two of the birdhouse bases #1 (see figure #1 below) out of them.  Next, I die cut two of the #2 pieces out of Cherry Cobbler, two of the #3 pieces out of Old Olive cardstock and two each of the #4 and #5 pieces out of Pecan Pie.  I took the #4 and #5 pieces and embossed them using the Timber 3D Embossing Folder (I like the wood look it gave me). 

I started by adding the #5 pieces onto the bottom of the cherry cobbler birdhouse bases and the #4 pieces to the top of the birdhouse bases.  Then I added the two #3 pieces snugging them right up to the #4 pieces.  With that done I added the two #2 pieces right on the very top of the #3 pieces.  This finishes the basic birdhouse and I added nothing else to the birdhouse base I was using for the back.

To decorate the front of the birdhouse I die cut two each of the #19, #20, #21 and #22 pieces from Cherry Cobbler cardstock and took the coordinating smaller ones and added them to the center of the larger one offsetting the petals.  I also die cut 2 each of the #15 and #13 leaves from Old Olive cardstock.  I added the four flowers and the four sets of leaves to the base on the front of my birdhouse and then just added four little Rhinestone Basic Jewels to the center of each to finish them off. 

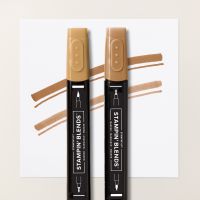
I wanted the hole for the birdhouse to have a little extra character so I die cut the smallest stitched circle from the Stylish Shapes Dies (you could simply use die #8 from the bundle) out of Basic Black cardstock and attached it to my birdhouse.  I stamped my bird from the stamp set it the bundle onto a scrap of Basic White cardstock using Tuxedo Black Memento Ink and colored it using the Cherry Cobbler, Pumpkin Pie and Pecan Pie Stampin’ Blends (I added the black to make it look like a cardinal since I think they scream Christmas).  I die cut it using die #9 and added this to the front of my birdhouse using some Mini Dimensionals.  For the final addition I die cut #8 out of Pecan Pie cardstock and placed it under the bird’s feet so it looked like he was perched on it.

For the treat portion of the project, I cut a piece of Cherry Cobbler cardstock to 3 ½ x 3 ½” and scored it at 1” on all four sides to create the box as shown in figure #2 below, once that was done, I cut as shown in figure #3 below.  Now I reinforced the score lines and folded the tabs inside to create a box.  I adhered the box centered at the bottom of the back side of each side of the birdhouses I created and added a Ferrero Rocher to complete the project.  (I did a little experimenting as well and found that I could punch a small hole through the top peak of each birdhouse and tie a piece of Linen Thread to it to create a Christmas Ornament.)

Figure #1

Figure #2

Figure #3

I hope you enjoy this card I certainly enjoyed making it.  As always you can find the supplies to create this card and more on my website at https://www.stampinup.com?demoid=2206796 or by clicking the shopping button at the top of this blog or the link to the supplies listed below.  Be sure to follow me at: 

Product List

Friday, August 23, 2024

COUNTRY WOODS BIRTHDAY

Today’s card features the Country Woods Designer Series Paper and the Grassy Groves Stamps and Dies.  It seems like many people struggle with masculine cards but they are one of my favorite to work with.  I wanted to create a simple card that really featured this beautiful new Designer Series Paper. 

Here is what I came up with…

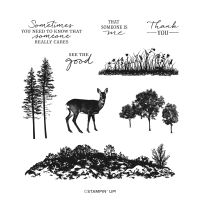
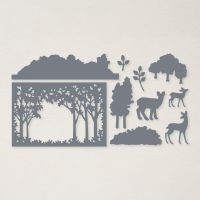
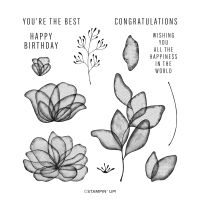
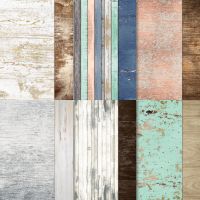
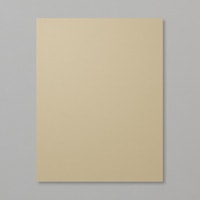
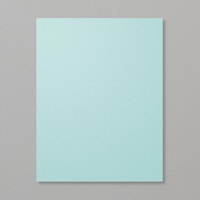
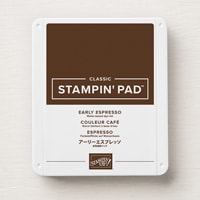
The card base is Crumb Cake cardstock cut to 5 ½ x 8 ½” and scored at 4 ¼”.  I added a layer of the Designer Series Paper (I picked this cute striped one that looks like distressed wood planks) that measured 4 x 5 ¼”.  I used my largest circle from the Stylish Shapes Dies (man I use these all the time) and cut out a circle from another piece of the DSP that looks like a piece of wood.  I stamped one set of the trees from the Grassy Grove Stamp Set onto the left side of the circle using Early Espresso Ink.  I then stamped the deer from the set onto a scrap of Crumb Cake cardstock and cut it out with the coordinating die.  I added the deer with Dimensionals and then added the circle to the front center left of the card.  I stamped the sentiment “HAPPY BIRTHDAY” from the Translucent Florals stamp set onto a scrap of Pool Party cardstock and die cut that with another of the dies from the Stylish Shapes Dies (NOTE: I happened to like the font on this sentiment and that is why I choose to use it but any sentiment from any stamp set would work and if you use another die or simply cut out a rectangle it would work just fine, remember use what you have and what you love).  I added Dimensionals to the back of this piece and tucked it under the side of the circle.  To finish off the front I made a triple bow out of Linen Thread and attached it using a Mini Glue Dot. 

For the inside of the card I cut a piece of Basic White cardstock to 4 x 5 ¼” and stamped another set of trees from the Grassy Grove Stamp Set onto it and my envelope with Early Espresso Ink.

I hope you enjoy this card I certainly enjoyed making it.  As always you can find the supplies to create this card and more on my website at https://www.stampinup.com?demoid=2206796 or by clicking the shopping button at the top of this blog or the link to the supplies listed below.  Be sure to follow me at: 

Facebook at:  https://www.facebook.com/craftwithronnie.stampinup.net

YouTube at: https://www.youtube.com/@ronniejohnsonstampinup

Instagram: https://www.instagram.com/craft_with_ronnie/


Happy Crafting!!! 

Product List

Wednesday, August 21, 2024

A MAGNOLIA HELLO

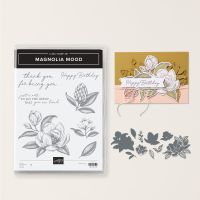
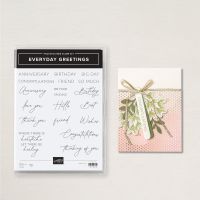
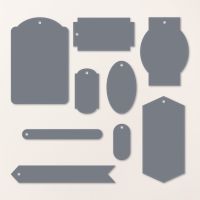
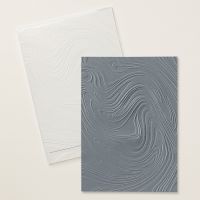
Today’s card features the Magnolia Mood Bundle and the So Swirly Embossing Folder.  I also used the Everyday Greetings and the Greetings of the Seasons Dies, I love how these dies coordinate with two different sentiment stamp sets making it super versatile.  Here is what I came up with…

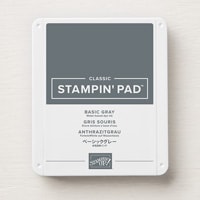
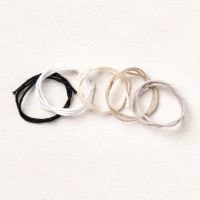
The card base Bubble Bath cardstock cut to 4 ¼ x 11”, scored at 5 ½”.  I cut a piece of Basic White cardstock to 4 x 5 ¼” and then die cut #10 (see below) out of the center of this piece (I saved that die cut as I add it back into the area it was cut from later).  Now I place the Basic White layer (minus the die cut piece) into the So Swirly Embossing Folder and embossed it.  I attached this layer to my card base and then added my die cut piece back in (NOTE: pieces such as this die cut have lots of little areas so it can be hard to add glue, so the trick I use is to put some of the Multipurpose Liquid Glue onto my Silicon Mat and using a little piece of sponge or a dauber picking up the ink and just pouncing it onto the piece until it is fully covered).  Next, I grabbed a piece of Basic White cardstock that measured 4 x 3 ½” and I stamped my image from the stamp set in the bundle onto it using Basic Gray Ink and die cut it using the coordinating die from the bundle.  I added this to the center of my card using Dimensionals.  I stamped the sentiment “Hello” from the Everyday Greetings Stamp Set onto a scrap of Bubble Bath cardstock again using that Basic Gray Ink and die cut it using one of the cute labels from the Greetings of the Season Dies.  This die has a little hole in it so it can be made into a tag and I didn’t want that so I used the white twine from the Baker’s Twine Essentials Pack and made a triple bow that I attached over the hole with a Glue Dot. 

For the inside of the card, I cut a piece of Basic White cardstock to 4 x 5 ¼” and stamped another of the images from the stamp set onto it (and the envelope) again using that Basic Gray Ink.


I hope you enjoy this card I certainly enjoyed making it.  As always you can find the supplies to create this card and more on my website at https://www.stampinup.com?demoid=2206796 or by clicking the shopping button at the top of this blog or the link to the supplies listed below.  Be sure to follow me at: 

Facebook at:  https://www.facebook.com/craftwithronnie.stampinup.net

YouTube at: https://www.youtube.com/@ronniejohnsonstampinup

Instagram: https://www.instagram.com/craft_with_ronnie/


Happy Crafting!!! 
Product List

Monday, August 19, 2024

COUNTRY BIRDHOUSE BIRTHDAY

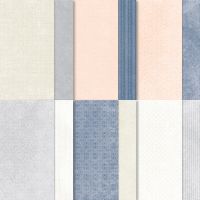
Today’s card features the Country Birdhouse Bundle and Country Lace 12 x 12” Designer Series paper.  I loved the simplicity of this beautiful DSP and wanted to use it to create something a little different.  I saw a card made by Creativetreehouse that used this paper with the Country Birdhouse Bundle and I knew it was perfect.

Here is what I came up with…

The card base is Smokey Slate cardstock cut to 5 ½ x 8 ½” and scored at 4 ¼”.  I cut a layer of Pretty Pink that measured 4 x 5 ¼” and to that I added a layer of the DSP that measured 3 7/8 x 5 1/8” (set this aside without attaching to the card base).  With that base all prepared I went to work on building my birdhouse.  I cut the body of the house out using Die #1 (see below) from a piece of the DSP that measure 4 x 3 ½” (be sure to be aware of directional paper so you cut it going in the direction you want).  Then I die cut pieces #4 and #5 out of scraps of Night of Navy cardstock.  I then took those two pieces and embossed them with the Timber 3D Embossing Folder (I loved that look of woodgrain on them).  I die cut Pieces #2 and #7 out of Pretty In Pink cardstock and piece #3 out of Pool Party cardstock.  I stamped piece #3 with one of the coordinating stamps from the bundle using Night of Navy Ink (it gives this part of the roof a little decorative design).  Next, I die cut 2 each of #19 and #22 and 2 each of #20 and #21 out of scraps of Pretty In Pink cardstock and 2 each of #15 and 2 each of #12 out of scraps of Granny Apple Green cardstock.  I put my flowers together using the smaller ones as centers and offsetting the petals.  I added Iridescent Pearls Basic Jewels to the center of each one. 

Now it is time to build the birdhouse.  Attach piece #4 to the top of the birdhouse base, next add piece #3 directly below that (the pieces should line right up), and finally add piece #2 right over the top of piece #3.  That’s it the house is built!  I put Dimensionals on the back of the birdhouse and centered that on my layer of Pretty In Pink and the DSP towards the top of the card (about 3/8” from the top) and attached it.  I added piece #7 and wrapped the excess across the top of the layer and adhered it.  Now I could go ahead and finish building the rest of the card.  I attached my flowers and leaves as shown in the photo (NOTE: one flower and one leaf were reserved for the inside of the card).  I stamped the sentiment “happy birthday” onto a piece of Basic White cardstock that measured 3/8 x 2 ½” using Night of Navy Ink and attached that to a piece of Night of Navy cardstock that measured ½ x 2 5/8” and then using Dimensionals popped that up on the center bottom of the card. For the inside of the card I cut a piece of Basic White cardstock to 4 x 5 ¼” and attached the reserved flower and leaf. 

I hope you enjoy this card I certainly enjoyed making it.  As always you can find the supplies to create this card and more on my website at https://www.stampinup.com?demoid=2206796 or by clicking the shopping button at the top of this blog or the link to the supplies listed below.  Be sure to follow me at: 

Facebook at:  https://www.facebook.com/craftwithronnie.stampinup.net

YouTube at: https://www.youtube.com/@ronniejohnsonstampinup

Instagram: https://www.instagram.com/craft_with_ronnie/


Happy Crafting!!!

Product List