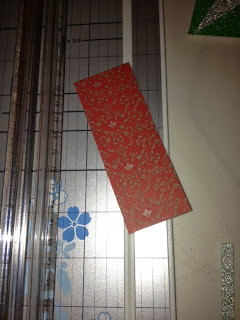
Start by selecting four different papers (I used the Close to My Heart Sparkle and Shine Paper pack) and cut each into a piece that is 1 1/2 x 4" and cut each on a diagonal from the top right to bottom left corner.
Next, turn cut pieces so the large piece is on top and alternate the colors as shown below. Cut a piece of cardstock (any color) 5 x 2 3/4" and make the center mark at 2 1/2" on the top and bottom. Cover the cardstock with glue.
Center the first two pieces for each side of the starburst on the marks you made at 2 1/2" and glue down
Continue to work around both sides until all pieces are glued down. When complete and project dry cut away excess from the cardstock
I decided to add a little border trim as well and just took a piece of coordinating paper and cut it to a length of 5" and a width of 1 1/4" and put a little punch around one side.
I then glued both the trim and the cardstock to an A-2 card base.
I made my sentiment using the same papers from the Starburst and the Close to My Heart Artiste Cartridge and Holiday Tags stamp set.
Place the sentiment on the card using dimensional dots to give it a lift.
Finished project takes no time and looks great. All the products listed can be found on my website at www.craftwithronnie.ctmh.com


.jpg)

Beautiful card! Thanks for the sunburst instructions. :)
ReplyDelete