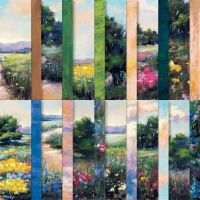
Today’s card features the beautiful Meandering Meadows 6 x 6” Designer Series Paper. I love the beautiful watercolor scenes on this paper they are so much fun to work with. I wanted to use this paper to create a cute fun fold card where I got to maximize the 6 x 6” paper.
Here is what I came up
with…
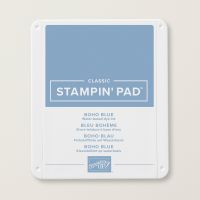
The card base is Boho Blue cardstock cut
to 5 ½ x 11” and scored at 4 3/16 and 8 ½”.
I cut my DSP down to 5 1/8” high (save the scrap these strips make great
additions to card insides) and then cut it to 2 1/8” x 5 1/8” (left front) and 3
7/8 x 5 1/8” (right front). I cut two
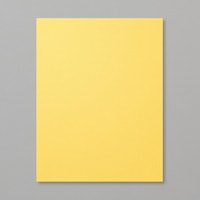
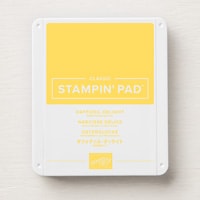
pieces of Daffodil Delight cardstock one to 4 x 5 ¼” (right front) and one to 2
¼ x 5 ¼” (front left). Now it is time to
start cutting our angles, begin with the card base and make a mark 1” from the
top left on the panel that is 2 ½” wide.
Now place your base into your paper trimmer aligning your mark at the
top of the cutting blade and the bottom corner centered on the cutting track
and cut. The 2 ¼” wide Daffodil Delight
cardstock is marked at 7/8” from the top left and cut the same way. The DSP is marked at ¾” from the top left and
again cut the same way. Now you have
what you need to assemble your card.
Attach the DSP to the Daffodil Delight
cardstock and then attach those to your card.
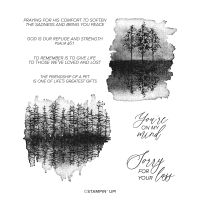
Once you have the pieces all adhered you are ready for the final pieces. I stamped the sentiment “You’re On My Mind”
from the Quiet Reflection stamp set onto a scrap of Basic White cardstock using
Boho Blue Ink and die cut it using one of the circles from the Spotlight on
Nature Dies. Then I cut two scraps of
Daffodil Delight cardstock using the next larger die. I attached my sentiment to one of those and
then attached the second Daffodil Delight circle to the back of the first (I prefer
that finished look when you are going to see the back of a piece) and attached
it just to the left panel.
For the inside of the card, I cut a piece
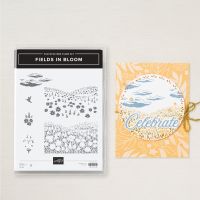
of Basic White cardstock to 4 1/8 x 5 ¼”. I stamped the bottom of this panel using the
Fields In Bloom stamp set. I stamped the
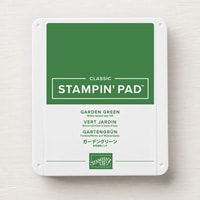
foliage portions in Garden Green and the flowers in Daffodil Delight (I love
these two step stamps they really make things pop).
I was really happy with the way the card
turned out and I think it is a good generic card that could be used for lots of
things but especially to let someone know you are thinking of them and I can’t
think of a better reason to send a card.
I hope you enjoy this card I certainly enjoyed making it. As always you can find the supplies to create
this card and more on my website at https://www.stampinup.com?demoid=2206796 or by clicking the
shopping button at the top of this blog or the link to the supplies listed
below. Be sure to follow me at:
Facebook
at: https://www.facebook.com/craftwithronnie.stampinup.net
YouTube
at: https://www.youtube.com/@ronniejohnsonstampinup
Instagram: https://www.instagram.com/craft_with_ronnie/
Happy Crafting!!!
Product List




.jpg)


No comments:
Post a Comment