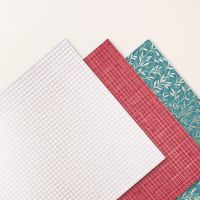
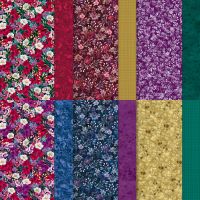
Today’s card features the Regal Winter Designer Series Paper and the Regal Distress Patterns Specialty Designer Series Paper. You know there is something really special about a Designer Series Paper that does all the work for you and these papers do just that. I love working with the vibrant regal colors in this collection.
Here is what I came up
with…
The card base is Pretty Peacock cardstock
cut to 5 ½ x 8 ½” and scored at 2 1/8” and 4 ¼”. The front of the card is folded to create a
tent like piece that the card front can be attached to. I cut a piece of Cherry Cobbler cardstock to
4 x 5 ¼” and added a piece of the Regal Distressed Patterns Specialty Designer
Series Paper (I chose to use the red) that measured 3 7/8 x 5 1/8” to
that. I added this to the front of the
card by centering it and adhering just the bottom half to my card so my tent
could pop up. Now to add some additional
layers.
I cut a piece of the Regal Winter Designer
Series Paper to 3 x 4” and a piece of Cherry Cobbler cardstock to 3 1/8 x 4 1/8”
and Pretty Peacock cardstock to 3 ¼ x 4 ¼” and adhered those pieces together
and added them centered on the card base.
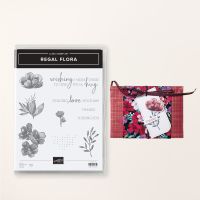
I used one of the floral images from the Regal Flora Stamp Set and
stamped it in Pretty Peacock (I stamped it off twice before stamping the
cardstock so I had a faint image) on a scrap of Basic White cardstock and then
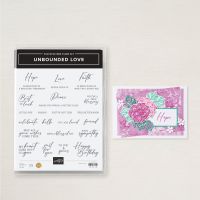
I stamped my sentiment “Happy Birthday” from the Unbounded Love Stamp Set over
it with Cherry Cobbler Ink. I die cut
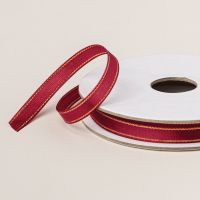
this out using one of the circles from the Stylish Shapes Dies. I added a piece of the Cherry Cobbler and
Gold Satin Ribbon (about 7”) behind the sentiment and popped it up on my card
with Dimensionals.
Now to move on to the inside. I cut a piece of Basic White cardstock to 4 x
5 ¼” and stamped that same little floral image I used earlier in Pretty Peacock
on the bottom left corner. I stamped the
sentiment “MAY ALL your wishes COME TRUE” from the Unbounded Love Stamp Set
onto a scrap of Basic White cardstock in Cherry Cobbler Ink and die cut it with
one of the Stylish Shapes Dies. I added
this to the bottom center of my inside about ½” from the bottom using
Dimensionals so that the sentiment would act as the catch to make my card stand
up like an easel.
I hope you enjoy this card I certainly
enjoyed making it. As always you can
find the supplies to create this card and more on my website at https://www.stampinup.com?demoid=2206796 or by clicking the
shopping button at the top of this blog or the link to the supplies listed
below. Be sure to follow me at:
Facebook
at: https://www.facebook.com/craftwithronnie.stampinup.net
YouTube
at: https://www.youtube.com/@ronniejohnsonstampinup
Instagram: https://www.instagram.com/craft_with_ronnie/
Happy Crafting!!!
Product List





.jpg)


No comments:
Post a Comment