Featured Post

FUN WITH TEMPLATES

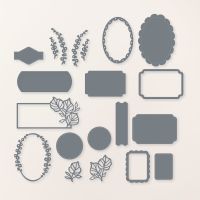
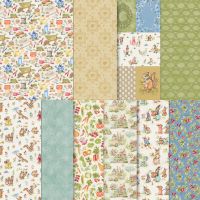
Today’s card features the Fern & Flora Bundle and the Moonlit Flora Designer Series Paper.  I fell in love with this suite the first tim...

Wednesday, April 9, 2025

PAINTED LAVENER BIRTHDAY

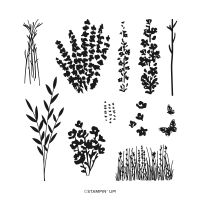
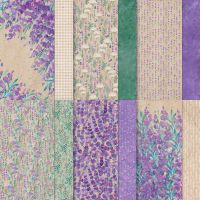
Today’s card features the Painted Lavender Stamp Set which is retiring soon and will be available only while supplies last.  I did pair it with the Perennial Lavender Designer Series Paper which I am happy to say was carried over into the 2025 – 2026 Annual Catalog.  So you might want to grab that stamp and die bundle while you can to keep creating with for another year while the paper is available. 

Here is what I came up with…

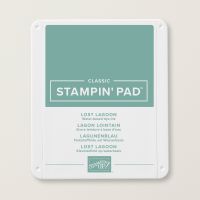
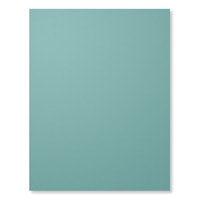
The card base is Lost Lagoon cardstock cut to 5 ½ x 8 ½” and scored at 4 ¼”.  I cut a piece of the Perennial Lavender DSP to 4 x 5 ¼” (I chose the muted green piece) and added it to the card base.  Then I cut a piece of the DSP to 1 ¾ x 5” and mounted that onto a piece of Lost Lagoon cardstock that measured 1 7/8 x 5 1/16” and added that about 3/8” from the right side of the card front. 

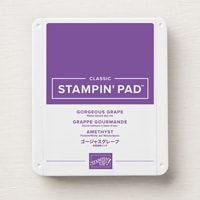
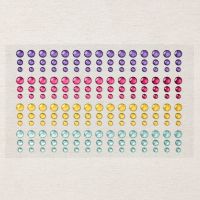
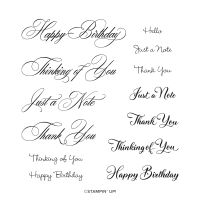
I cut a piece of Basic White cardstock to 2 1/8 x 3 7/8” and stamped the foliage using Lost Lagoon Ink and the butterfly using Gorgeous Grape Ink.  I mounted this onto a piece of Lost Lagoon cardstock that measured 2 ¼ x 4” and popped that up with Dimensionals centered and about ½” from the left side of the card front.  I stamped my sentiment “Happy Birthday” from the now retired Go To Greetings Stamp Set in Lost Lagoon onto a piece of Basic White cardstock that measured ½ x 2 ¼”.  Remember, as I have said many times before, use what you have, most of us have some sentiments that we consider our staples and for me this is one.  I adhered a piece of Lost Lagoon that measured ½ x 2 ½” to the back of the sentiment just a little over to the left and slightly above and then added that near the bottom of my image panel (glued directly to the image panel with a single Dimensional on the right end).  The card was finished up with three of the Glossy Dots Assortment dots. 

I hope you enjoy this card I certainly enjoyed making it.  As always you can find the supplies to create this card and more on my website at https://www.stampinup.com?demoid=2206796 or by clicking the shopping button at the top of this blog or the link to the supplies listed below.  Be sure to follow me at: 

Facebook at:  https://www.facebook.com/craftwithronnie.stampinup.net

YouTube at: https://www.youtube.com/@ronniejohnsonstampinup

Instagram: https://www.instagram.com/craft_with_ronnie/


Happy Crafting!!!

Product List
Monday, April 7, 2025

RED, WHITE AND BLACK

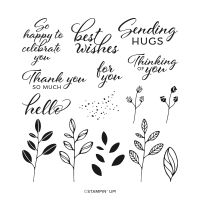
Today’s card features the new Botanical Textures Designer Series Paper, the Mini Corrugated 3D Embossing Folder and the Layering Leaves Stamp Set (this stamp set is retiring so it is only available while supplies last).  I really wanted to play up the colors in this card and it worked out great.  Here is what I came up with…

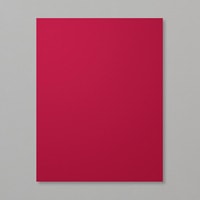
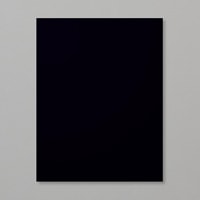
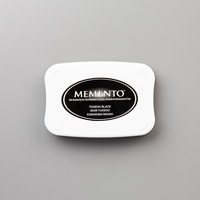
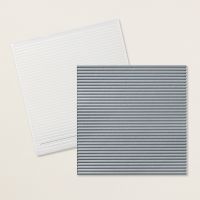
The card base is Cherry Cobbler cardstock cut to 5 ½ x 8 ½” and scored at 4 ¼”.  I added a layer of the Botanical Textures Designer Series Paper (love these black and white designs) that measured 4 x 5 ¼”.  I added a piece of Basic Black cardstock that measured 2 ½ x 4” adhering it centered on the left side about ½” over.  I then cut a piece of Cherry Cobbler cardstock to 2 ½ x 3 ¾” and embossed it with the Mini Corrugated 3D Embossing Folder.  I added this centered that piece on the front of the card and to the right about ½” over.  Next, I stamped my sentiment “So happy to celebrate you” from the Layering Leaves Stamp Set onto a scrap of Basic White cardstock with Tuxedo Black Memento Ink and used one of the Spotlight on Nature Dies to cut it out (any die would work or even something like a circle punch).  I popped the sentiment up on Dimensionals.

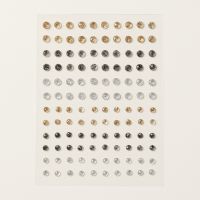
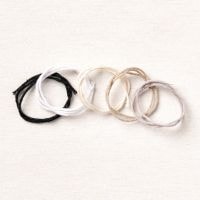
For my final additions I added a triple bow made from the black twine in the Baker’s Twine Essentials Pack and adhered it with a Mini Glue Dot just under the edge of my sentiment.  I added three of the Adhesive-Backed Sparkle Gems two on the top right and one toward the bottom left.  For the inside of the card I cut a piece of Basic White cardstock to 4 x 5 ¼” and added a little ¾ x 4” piece of the Designer Series Paper to the bottom of it. 

I hope you enjoy this card I certainly enjoyed making it.  As always you can find the supplies to create this card and more on my website at https://www.stampinup.com?demoid=2206796 or by clicking the shopping button at the top of this blog or the link to the supplies listed below.  Be sure to follow me at: 

Facebook at:  https://www.facebook.com/craftwithronnie.stampinup.net

YouTube at: https://www.youtube.com/@ronniejohnsonstampinup

Instagram: https://www.instagram.com/craft_with_ronnie/


Happy Crafting!!!

Product List
Friday, April 4, 2025

APRIL SHOWERS

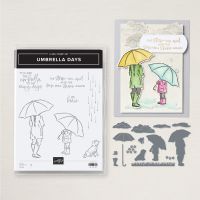
Just in time for April showers today’s card features the Umbrella Days Bundle (this bundle is retiring so it is only available while supplies last).  As soon as I saw this cute bundle I knew I could put it to work.  I love not only the cute umbrella dies I used on this card but also the images of the folks with umbrellas.  Likewise I was drawn to the sentiments in this set “You are the umbrella to my rainy days” how perfect for someone who is there for you when you need them most or how about “The stom will end and the sun will shine again” I think this one is perfect for someone going through a tough time and just the right way to say I am thinking about you.  This card was inspired by one I saw made by Su Mohr a member of the Stampin’ Up! Artisan Design Team.  I hope you like it…

The card base is Basic Gray cardstock cut to 5 ½ x 8 ½” and scored at 4 ¼”.   I started by die cutting all my pieces.  I saw where someone used the dies I used for clouds as shrubs (isn’t it awesome when a die can be used in many ways).  I cut the clouds out of scraps of Basic White cardstock, the umbrella handles out of scraps of Basic Gray cardstock and the two umbrellas were cut out of scraps from the Thoughtful Journeys 6 x 6” Designer Series Paper.  I love when I can use scraps to make a card don’t you? 

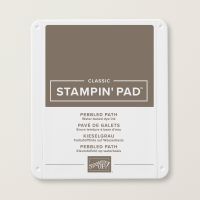
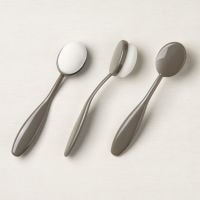
Once everything was cut, I added some Pebbled Path ink to my clouds using a Blending Brush.  I then cut a piece of Basic White cardstock to 4 x 5 ¼” and added the rain drops from the stamp set inked with Pebbled Path Ink.  I also stamped “You are the umbrella to my rainy days” in the bottom right corner using Tuxedo Black Memento Ink.  Now all that was left was to add my umbrellas which I adhered directly onto the card front and my clouds which I popped up on Dimensionals.

I hope you enjoy this card I certainly enjoyed making it.  As always you can find the supplies to create this card and more on my website at https://www.stampinup.com?demoid=2206796 or by clicking the shopping button at the top of this blog or the link to the supplies listed below.  Be sure to follow me at: 

Facebook at:  https://www.facebook.com/craftwithronnie.stampinup.net

YouTube at: https://www.youtube.com/@ronniejohnsonstampinup

Instagram: https://www.instagram.com/craft_with_ronnie/


Happy Crafting!!!

Product List
Thursday, April 3, 2025

A LITTLE NOTE OF APPRECIATION

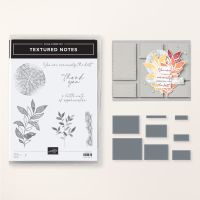
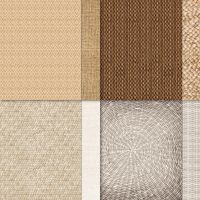
Today’s card features the Botanical Textures Collection which is one of the new online exclusive lines from Stampin’ Up!  The collection includes the Textured Notes Bundle, the Woven Textures and Botanical Textures Designer Series Papers, the Mini Corrugated 3D Embossing Folder, Neutral Matte Dots and ¼” White Ribbon.  As I often do when I get new products I looked around on Pintrest and YouTube for inspiration.  I was inspired by a YouTube video that Christy Fulk did using some of the products from the collection so I decided to give it a whirl as well.  Here is what I came up with…

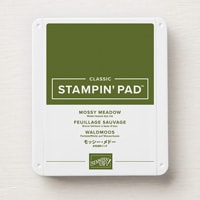
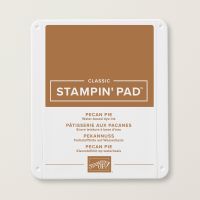
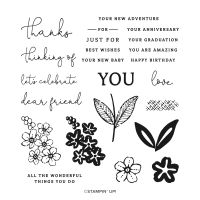
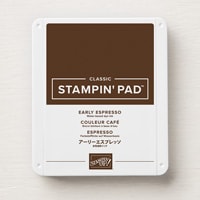
The card base is Early Espresso cardstock cut to 5 ½ x 8 ½” and scored at 4 ¼”.  I cut a piece of Crumb Cake cardstock to 4 x 5 ¼” and embossed it with the amazing new Mini Corrugated 3D Embossing Folder which is part of the collection and added it to the front of my card.  Then I cut a piece of the Woven Textures Designer Series Paper to 2 x 5 ¼” (this one looked like a woven basket to me) and adhered that to the left side of the card leaving a little border around the left side and top and bottom.  I then cut a piece of the Designer Series Paper (this one was a linen look) to about 3 x 4 ½” and die cut it using die #5 (see diagram below).  I stamped image #1 on the right center of this piece using Pecan Pie Ink, I then stamped image #2 on it using Mossy Meadow Ink and finally I stamped image #3 on it twice (one fully inked and the second time stamped off) using Early Espresso Ink.  Once my stamping was complete I added this piece to the center of my card.


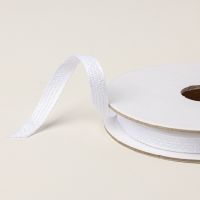
I die cut a piece of Basic Beige using die #2 (see above) and stamped the sentiment “a little note of appreciation” onto the right side of it using Early Espresso Ink.  I also stamped image #2 (see above) onto a scrap of Basic Beige using Mossy Meadow Ink and I fussy cut it.  I made a bow using the ½” white ribbon from the collection and tucked it under the left corner of my sentiment piece.  I popped the whole sentiment up using Dimensionals and then added my fussy cut piece to the left side of it.  To finish the front of the card I added three of the Neutrals Adhesive-Backed Sequins.

For the inside of the card and the envelope I cut a piece of Basic Beige cardstock to 4 x 5 ¼” and stamped image #1 (see below) on the bottom right corner in Pecan Pie Ink, I added just the top of image #2 (see below) over it stamped in Mossy Meadow and image #3 (see below) was stamped over that in Early Espresso. 

I hope you enjoy this card I certainly enjoyed making it.  As always you can find the supplies to create this card and more on my website at https://www.stampinup.com?demoid=2206796 or by clicking the shopping button at the top of this blog or the link to the supplies listed below.  Be sure to follow me at: 

Facebook at:  https://www.facebook.com/craftwithronnie.stampinup.net

YouTube at: https://www.youtube.com/@ronniejohnsonstampinup

Instagram: https://www.instagram.com/craft_with_ronnie/


Happy Crafting!!!


Product List
Monday, March 24, 2025

STORYBOOK MOMENTS THANKS

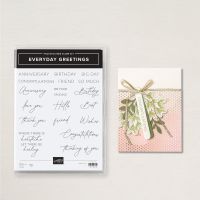
Today’s card features the Storybook Moments Designer Series Paper along with some wonderful stamps that include Sentiment Park Stamps and Everyday Greetings Stamps along with the Unbounded Love Dies.

Here is what I came up with…

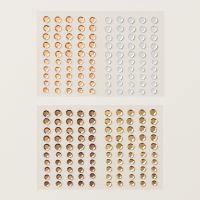
The card base is Boho Blue cardstock cut to 5 ½ x 8 ½” and scored at 4 ¼”.  I cut a piece of the Storybook Moments Designer Series Paper (I love this strawberry paper) to 2 x 5 ½” and before I adhered it I took two strips of Real Red cardstock that measures ½ x 5 ½” and added one piece to each side from the back leaving a reveal of about ¼” (I could have mounted it on a piece that is 2 ¼ x 5 ½” but that always seems like a waste to me in these situations).  Once that was all together, I added it to the left side of my card base over about ¼” from the fold.  Then I die cut two of the labels with the leaves from the Unbounded Love Dies (one in Basic White and one in Old Olive) you will need pieces that measure about 1 ¾ x 3 ½”.  I used the center white piece to stamp my sentiment “thanks” from the Everyday Greetings Stamp Set in Real Red Ink.  Then I adhered that to my card and took the Old Olive piece and fit it around the thanks and adhered it.  To finish off the front I added a square knot bow made from Cherry Cobbler and Gold Ribbon adhered with a Mini Glue Dot and three of the Iridescent Pearls Basic Jewels. 


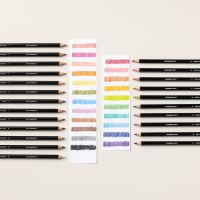
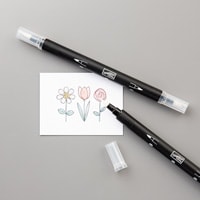
For the inside of my card, I cut a piece of Basic White cardstock to 4 x 5 ¼” and stamped the floral image shown from the Sentimental Park Stamp Set in Tuxedo Black Memento Ink.  To color my image, I used Colored Pencils (I used the Water Color Pencils Assortment 1 pack), these are a great way to get started coloring without having to invest a ton into markers.  I always use a Blender Pen to get the pencil lines to all fade into one nice color. 
I hope you enjoy this card I certainly enjoyed making it.  As always you can find the supplies to create this card and more on my website at https://www.stampinup.com?demoid=2206796 or by clicking the shopping button at the top of this blog or the link to the supplies listed below.  Be sure to follow me at: 

Facebook at:  https://www.facebook.com/craftwithronnie.stampinup.net

YouTube at: https://www.youtube.com/@ronniejohnsonstampinup

Instagram: https://www.instagram.com/craft_with_ronnie/


Happy Crafting!!!

Product List